Image viewport
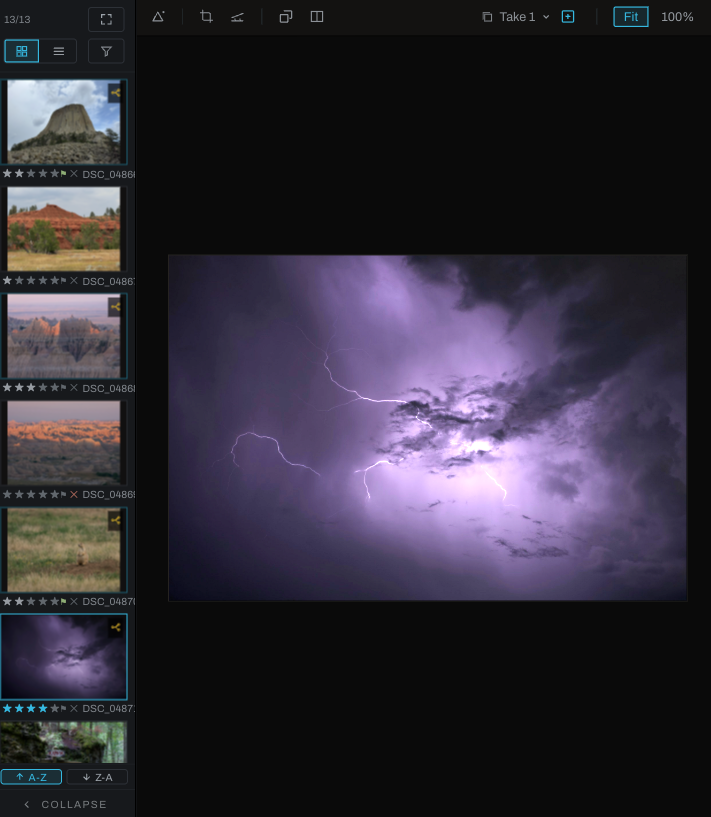
The image viewport is the central canvas for viewing, comparing, cropping, selecting, and painting on the active photograph.
Zoom, pan, and rotate the view
- Click Fit (or press
Fin Develop;Ctrl/Command+0anywhere) to fit the photograph inside the available space. In Graph and Canvas,Fframes the nodes instead, so F always fits the view to what matters. - Click 100% for one image pixel per display pixel.
- Scroll or pinch to zoom around the pointer.
- Hold
ShiftorCtrl/Commandwhile scrolling to pan. On a touchpad the two-finger scroll pans both axes at once; a mouse wheel pans sideways withShiftand vertically withCtrl/Command. - Hold
Alt/Optionwhile scrolling for finer zoom. - Middle-drag to pan, or hold
Spaceand drag: the same pan for a touchpad, where there is no middle button. - Hold
Shift+AltorCtrl/Command+Altwhile scrolling to rotate the view.
View rotation is temporary navigation, not an edit. Straighten and crop are edit operations and are recorded in History.
Before/after and split view
The toolbar's buttons are icons: a gamut triangle for the warning, crop corners, a horizon being levelled for Straighten, two frames for Before/After and a divided frame for Split. Each names itself in the status bar when the pointer rests on it.
Before/After toggles between the developed result and the untouched source. Split overlays the result on one side and the source on the other; drag the divider to inspect transitions. In Graph, A/B comparison can show the outputs of two selected nodes using the same draggable divider.
Arming Crop or Split raises a floating bar over the top of the canvas with that tool's settings; it disappears when the tool is put away, and the photograph never moves for it. Before/After always compares the untouched original against the current take. In Split, once a photograph has more than one take, the bar's selector chooses what "before" means: the original, or another take's rendered result, with the labels following the matchup (for example TAKE 2 against CURRENT).
While Split is on, its modes (Line, Grid, Radial) appear beside the button, followed by three controls every mode shares: Reset puts the current mode back to fresh (the centered bar, the 3x3 grid, or the centered slice at its starting angles), Reverse flips which pixels show the original, and Bar shows or hides the divider lines without touching the split, drawn in whatever color the swatch beside them holds. Every number field in the seat can be typed into or scrubbed by clicking and dragging sideways.
- Line is the classic divider, now rotatable: drag the round handle to turn the bar (hold
Shiftfor 10 degree steps), drag anywhere else to move it, and double-click the handle to reset. The degrees field edits and scrubs; holdShiftwhile scrubbing for 5 degree steps. - A/B shows the same part of the photograph twice, before beside after, split evenly down the middle; its toggle stacks the panes instead. Zoom to 1:1 on a detail and both halves frame it, and panning reframes them together.
- Grid divides the view into a checkerboard where alternate cells show the original. Set the counts with the X and Y fields, or drag a grid line: left and right on a vertical line changes the column count, up and down on a horizontal one changes the rows.
- Radial cuts a slice around a point. The point moves only by dragging its handle (its exact position is in the X and Y fields); drag either edge line to turn or resize the slice, holding
Shiftfor 5 degree steps.
Gamut and highlight warning
The warning display marks colors outside the display gamut in red and clipped highlights in white. Its badge can identify the operation responsible. When offered, Fix inserts a Gamut Map node immediately after the responsible node; one Undo removes it.
Crop and straighten
Choose Photo > Crop / Straighten > Straighten, then drag along a line that should be level. Choose Crop and drag the frame handles. Select Free, a common aspect ratio, or type a custom ratio. Cropping is nondestructive: pixels outside the crop remain in the source and can be restored. A photograph carries no Crop & Rotate node until the first drag or the Geometry section builds one; Esc after a first drag takes it out again.
Picks and on-image controls
Some adjustments arm an on-image picker, such as white balance, Curves, Relight, Color Tune, Recolor, and Color Sets. The active picker is shown in the viewport. Click or drag as instructed by the section; leave the picker to return to ordinary navigation.
The Color Sets picker changes the selection only while the left button is held: click to center the band on the sampled color, or press and drag to sweep across a subject and gather it in one stroke. Turn on the set's mask eye first to watch the selection follow the drag. The status line shows which set you are picking for and what the modifiers do; press Esc (or the set's picker button) to turn the picker off.
Selections
The Select tool supports rectangle, ellipse, pen, freehand, magnetic, color brush, color pick, region, and smart methods where available. Hold Shift to add, Alt/Option to subtract, both to intersect, and Ctrl to draw rectangles or ellipses from the center. The cursor badge shows the active combination mode.
A selection belongs to the photograph. It can restrict painting, become a layer mask, isolate pixels to a layer, be filled, or drive object removal. Selection edges remain visible when tools change. If Auto Clear on Click is enabled, a plain click outside clears the selection.
Takes
Takes are alternate edits of one photograph. Open the Takes control, create a take, and switch among versions without duplicating the source file. Shift-click New Take to name it immediately. The active take is reported in Metadata.
The dropdown is the quick switcher. Each row shows the take's name, an ACTIVE label on the one in force, a Compare button, a rename glyph, and a delete mark. It shows no notes.
The Takes window (the pop-out button beside the dropdown) is for reviewing takes properly. It opens at the Preferences dialog's size and lists every take with its name, a five-star rating on the same scale as thumbnails, a Compare button, a Switch to button, Delete, and a notes field with room to read and write. Notes are written when you leave the field or press Ctrl/Cmd+Enter. Ratings and notes are saved with the photograph's edits and travel with its takes. Drag the window to a second display for a side-by-side review with the viewer's compare grid.
Tools in Finish
When Finish is active, a toolbar appears along the bottom of the viewport. Its tools paint or manipulate the active Finish layer. See Finish toolbar.
Rendering feedback
The status bar reports zoom, output resolution, processing status, and control hints. During navigation Heeler may show an available preview immediately and refine the visible region after movement stops. A probe badge appears when Graph is showing an intermediate node output; click its close control to return to the finished image.
A pending picker answer belongs to the photograph, take, and tool you clicked, so a late answer never lands on the wrong photograph. Changing photographs, takes, or presets, deleting the target, closing the picker, or adjusting the section it writes to cancels that answer, and a newer click replaces an older pending one. Adjustments elsewhere do not cancel a pick. Every armed picker, including Set focus and the light rig, closes when you change photographs, folders, takes, or presets.
For Color Sets, hold Shift while sweeping to add sampled colors. Overlapping reads are combined in sweep order, including reads that finish after release. The whole sweep is one Undo step. Starting a new gesture cancels any unfinished answers from the previous sweep.