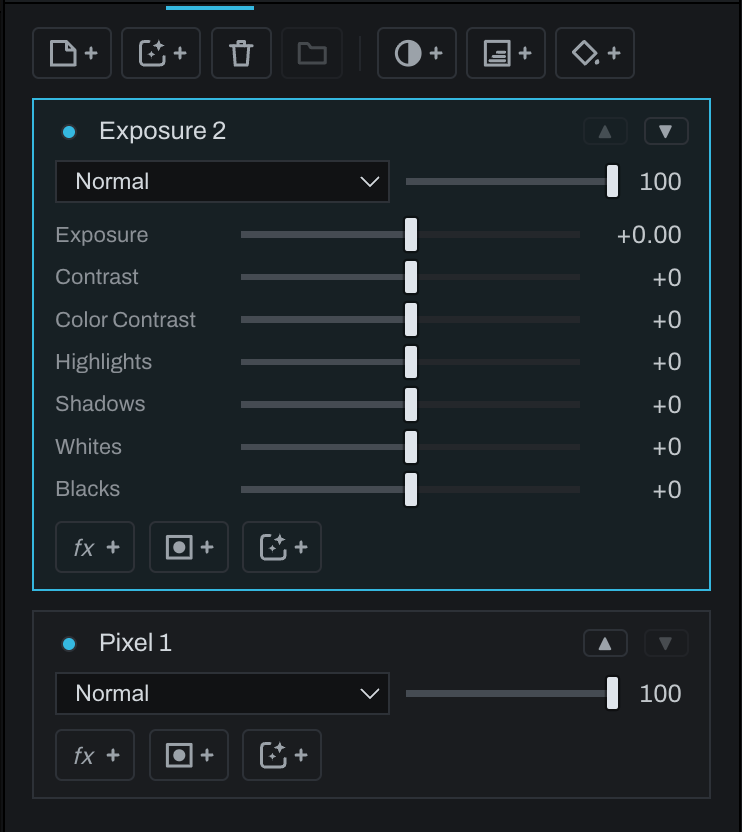
Adjustment layers

An adjustment layer changes the composite of everything below it. It has its own mask, opacity, and blend mode, so the correction can be stacked and limited like any other Finish layer.
Click the half-filled circle with +, then choose:
- Exposure for light and tonal range.
- Curves for composite or channel mapping.
- Levels for endpoints, gamma, and falloff.
- White Balance for temperature and tint.
- Color for saturation and vibrance.
- Color Balance for shadow, midtone, and highlight luminance/saturation balance.
- Black & White for channel-weighted monochrome conversion.
- Invert for tonal inversion.
- Gradient Map for mapping dark, middle, and bright tones to chosen colors.
Finish adjustment layers are ordered compositing operations. They differ from Develop local-adjustment layers, which are part of the Develop chain behind radial, linear, range, brush, or smart masks.
Use a clipping mask when the adjustment should follow the visible pixels of the layer immediately below. Use a regular mask when its shape should be independent.