
Example networks
Complete graphs built from the node reference, each one rendered through the engine to prove it runs. The result figures on this page come from that render, over the demo photographs that ship with the app; the graph figures show the same networks on the canvas. Every example is also a test in the engine (crates/heeler-engine/tests/doc_examples.rs), so a change that broke one would fail the build.
Wiring is written as from > to.port. A port with no name is the primary image input.
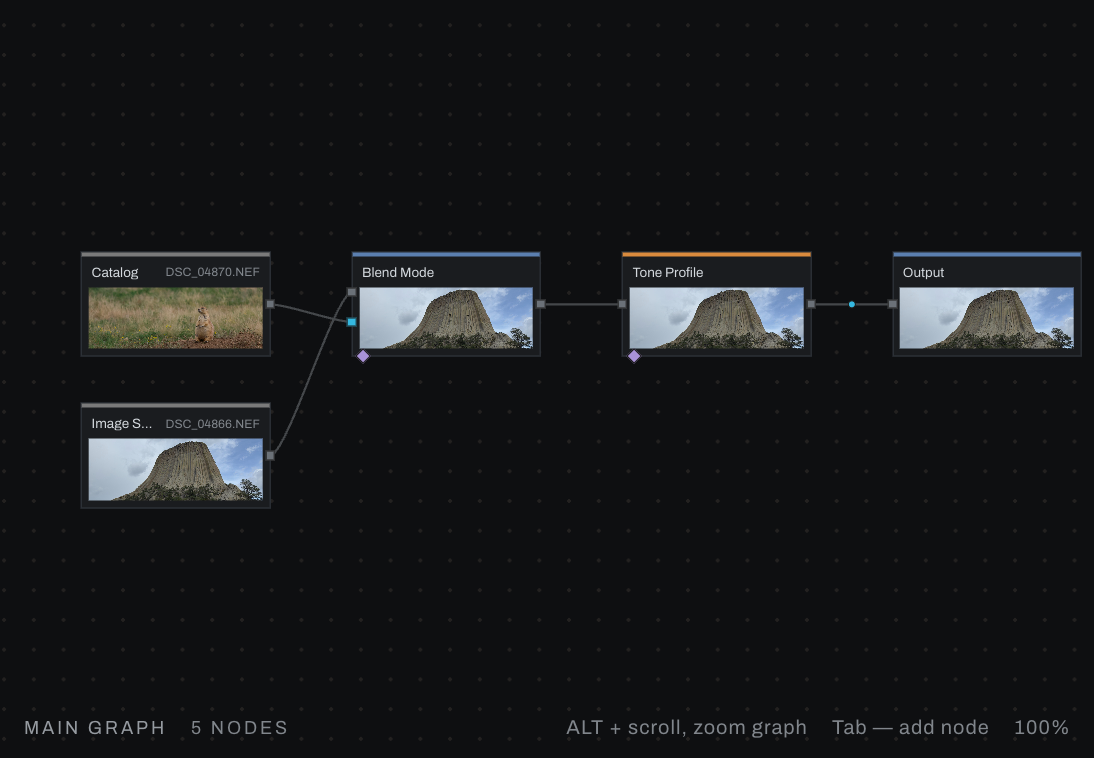
Double exposure
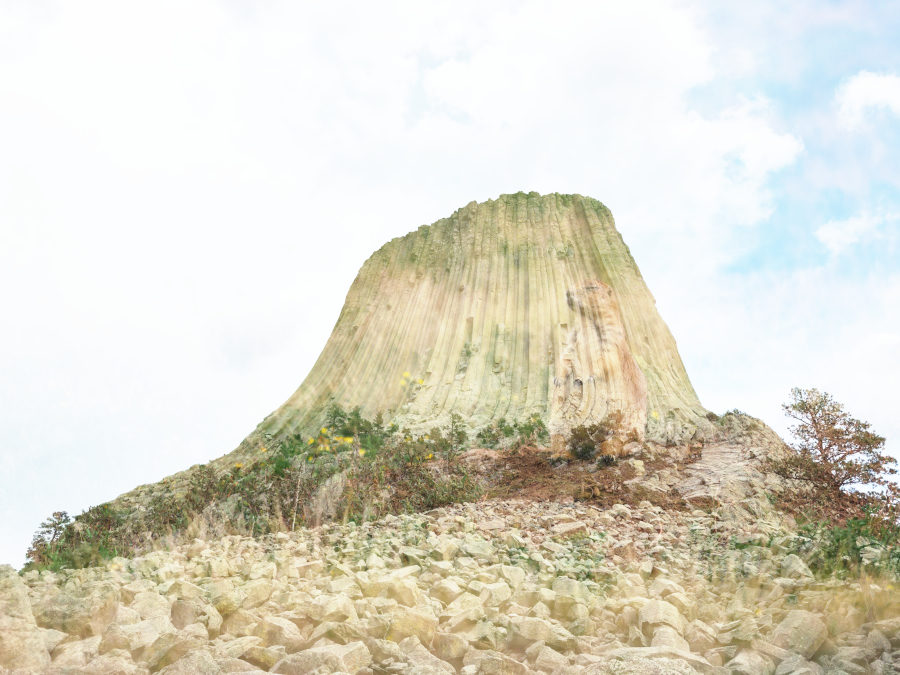
Another photograph from the catalog, screened over this one and faded.
Image Source > Blend Mode.base
Catalog (as developed)  > Blend Mode.top
Blend Mode (Screen, opacity 65, fit Fill) > Tone Profile > Output
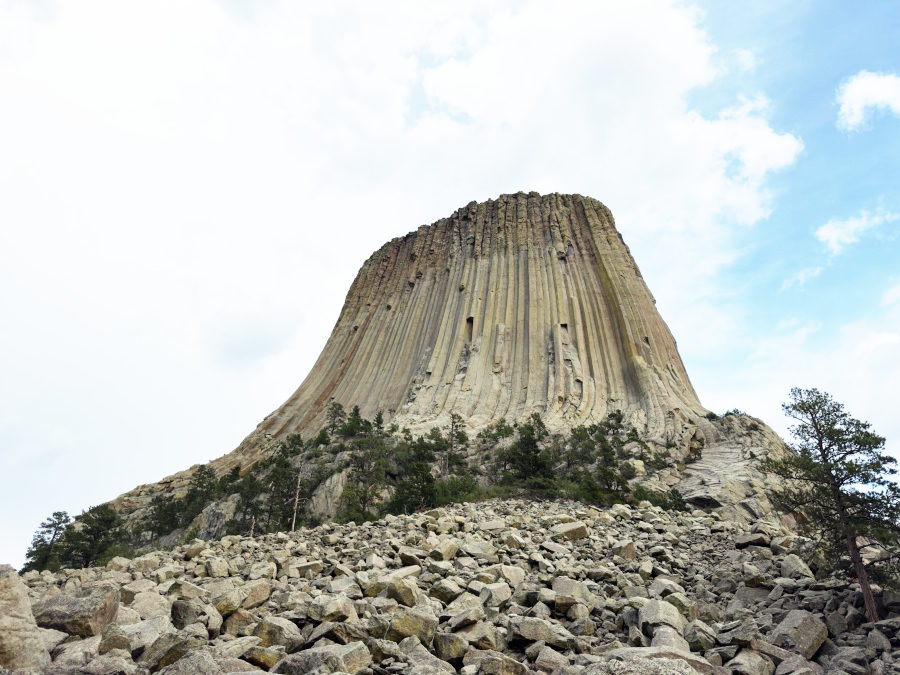
Screen lightens where the second frame is bright and leaves the dark parts of it invisible, which is what a double exposure on film did. Opacity sets how much of the second frame shows; Fit set to Fill covers the frame whatever shape the other photo is. Add a Transform between Catalog and Blend Mode to place or scale the second frame.
Texture overlay
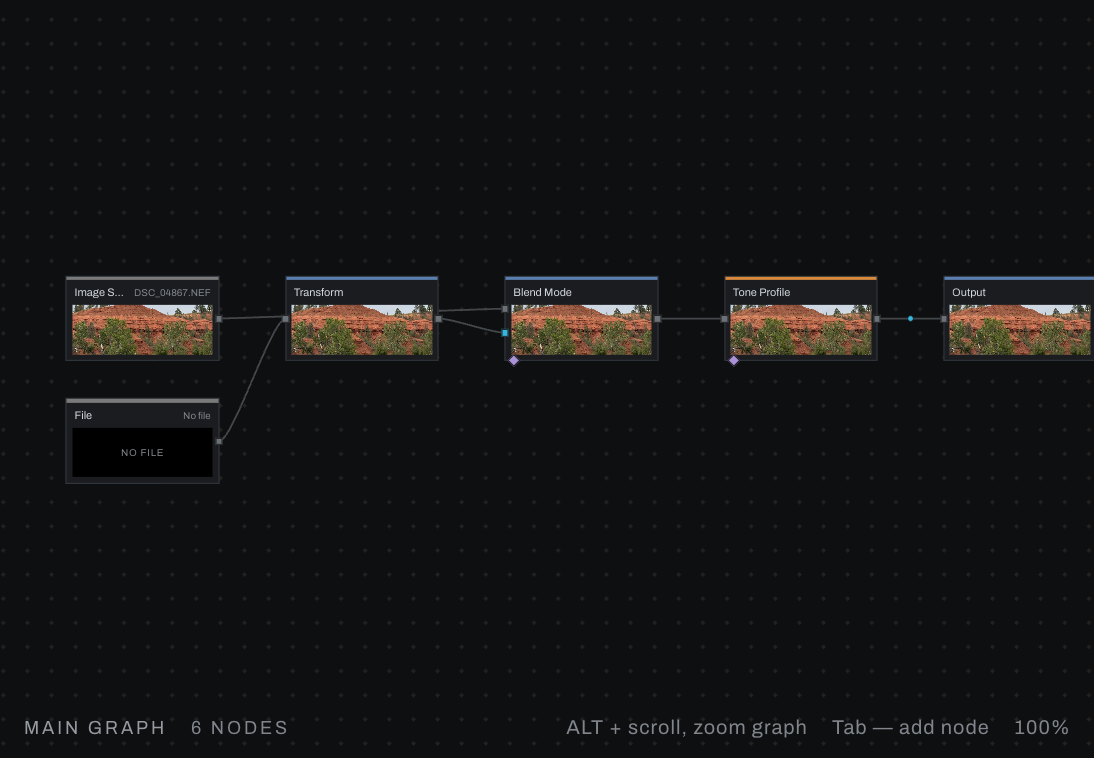
A file from disk, placed with Transform and laid over the photograph in Soft Light.
Image Source > Blend Mode.base
File > Transform (size 130, rotate 8, move X 6) > Blend Mode.top
Blend Mode (Soft Light, opacity 45, fit Fill) > Tone Profile > Output
Soft Light darkens where the texture is dark and lightens where it is light without blowing anything out. Transform makes the texture a little larger than the frame and turns it so its edges never show; what leaves the frame is gone and what enters is transparent, so no border appears.
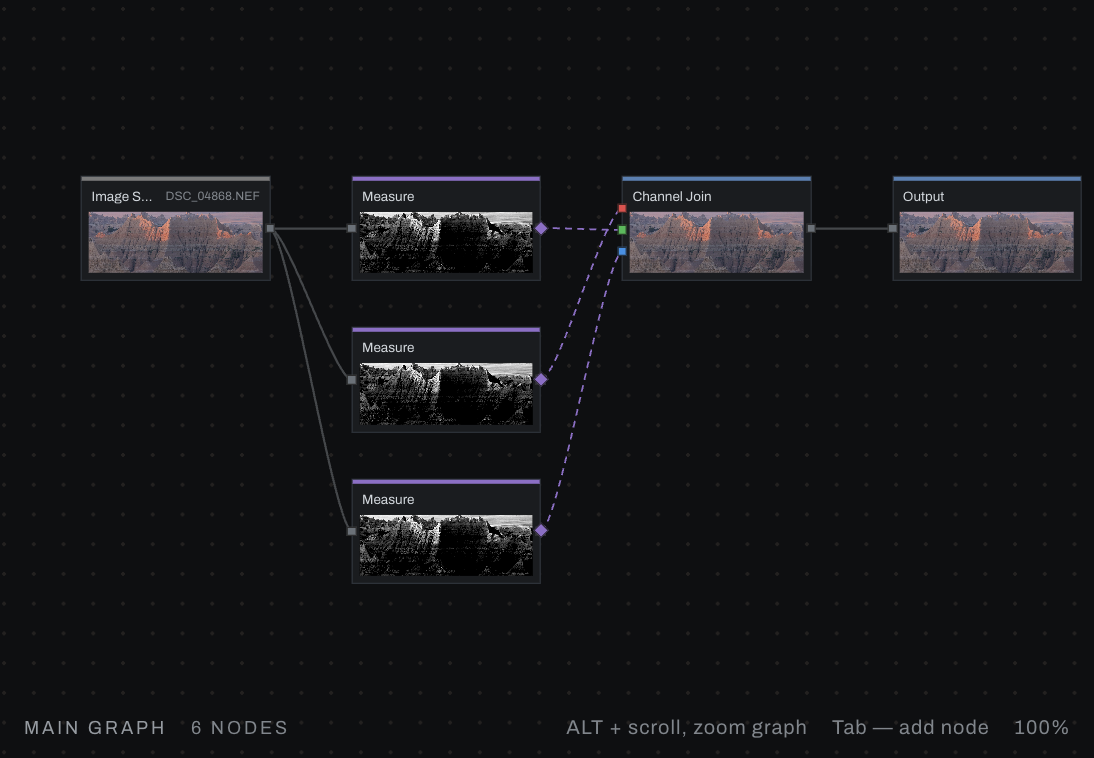
False color from three measures
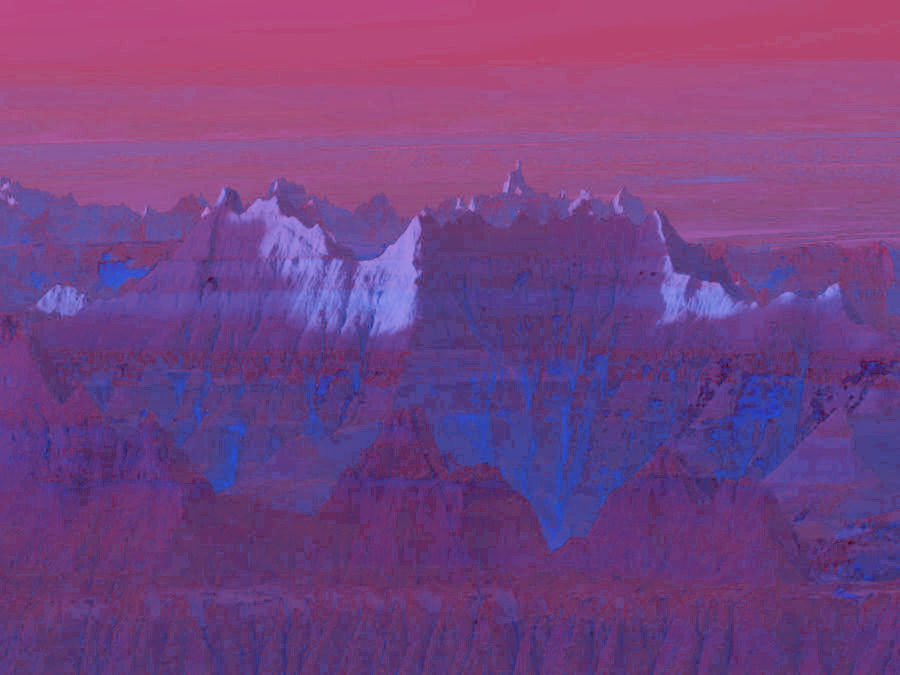
Three Measures of the same picture become a picture: luma as red, chroma as green, saturation as blue.
Image Source > Measure (luma)       > Channel Join.r
Image Source > Measure (chroma)     > Channel Join.g
Image Source > Measure (saturation) > Channel Join.b
Channel Join > Output
An analysis view rather than a look: bright areas go red, colorful areas go green and blue, neutral shadows go black. The same shape rebuilds a picture from three remapped channels; put a Remap or Math on any plane before the join.
Darken the bright tones only
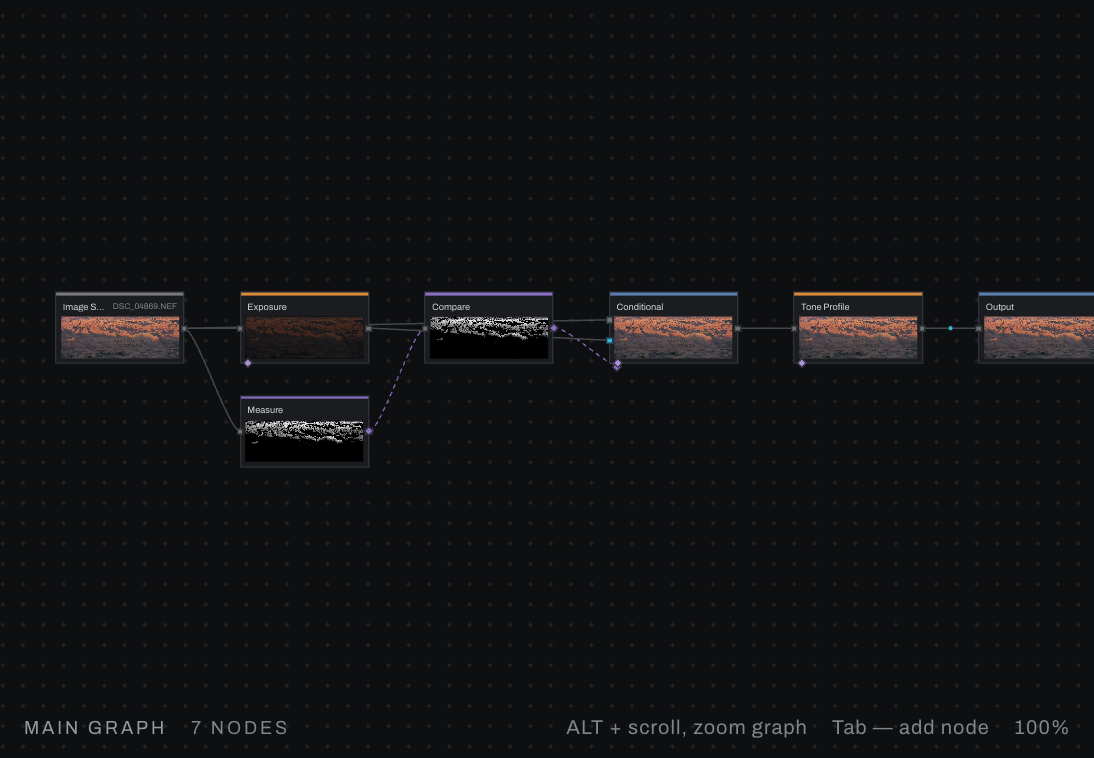
A condition built from the picture chooses between two branches per pixel.
Image Source > Measure (luma) > Compare (gt, level 0.25, softness 0.1) > Conditional.condition
Image Source > Exposure (-1.5 stops) > Conditional.then
Image Source > Conditional.else
Conditional > Tone Profile > Output
Where luma passes the level the then branch shows, the darker one; elsewhere the picture is untouched; the softness crossfades the two. Measure reads scene-linear light, so 0.25 is already a bright tone, about 0.55 on screen. Swap the then branch for any other treatment: a Color Grade, a Blur, a second Catalog.
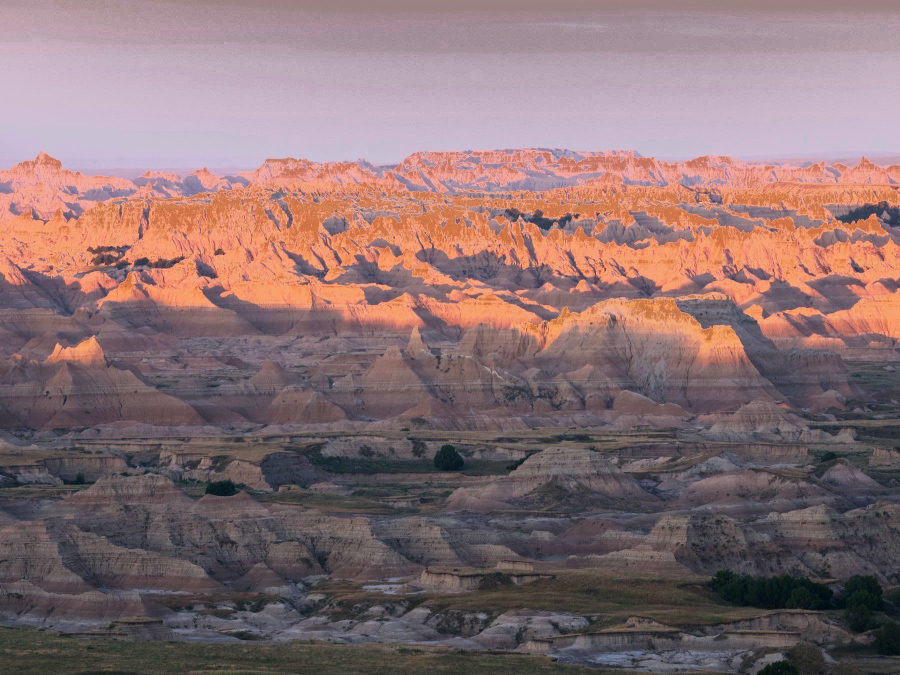
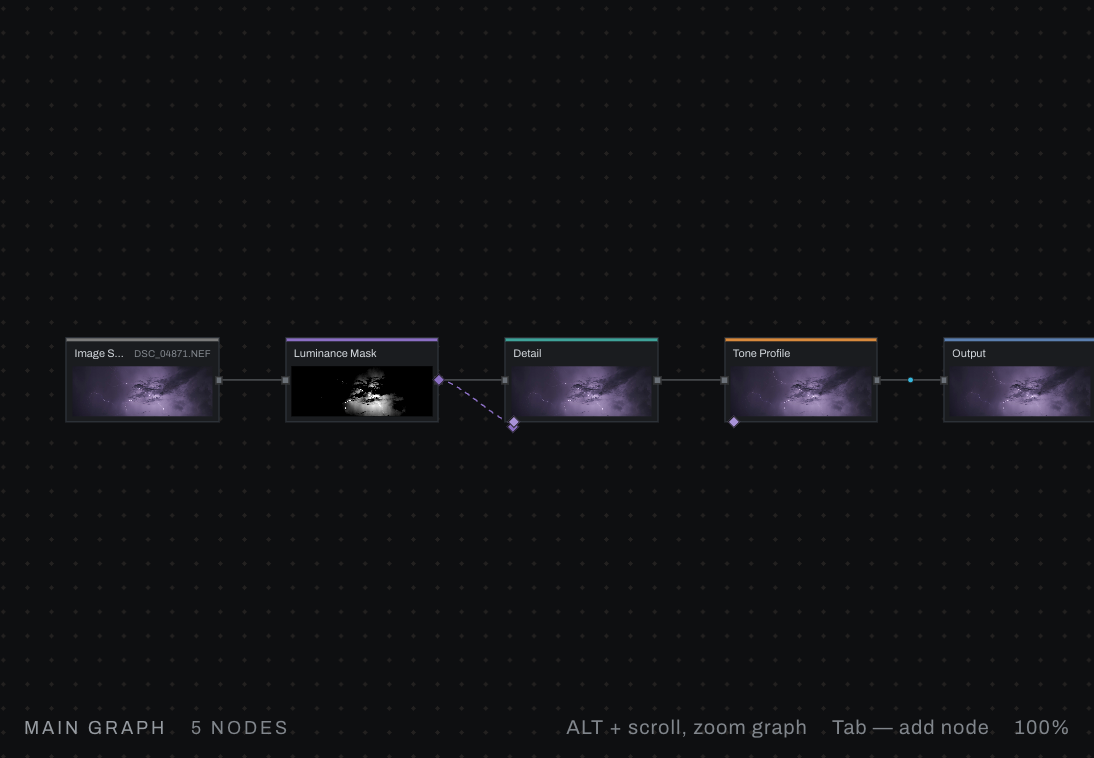
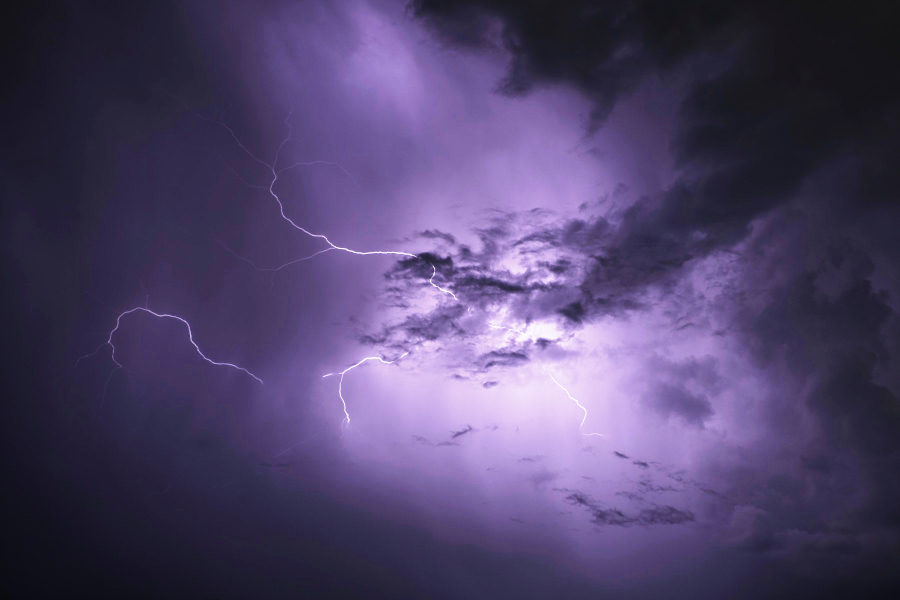
Detail where the light is
Clarity and texture limited by a Luminance Mask, so the shadows keep their softness.
Image Source > Luminance Mask (low 0.35, high 1, feather 0.2) > Detail.mask
Image Source > Detail (clarity 45, texture 25) > Tone Profile > Output
The mask is a field on Detail's mask port: 1 where the picture is bright, 0 where it is dark, a ramp between. Any mask works here, a Radial for a face, a Smart Mask for the subject; this is what a Develop layer does with a mask of its own.
Brightness and color smoothed apart
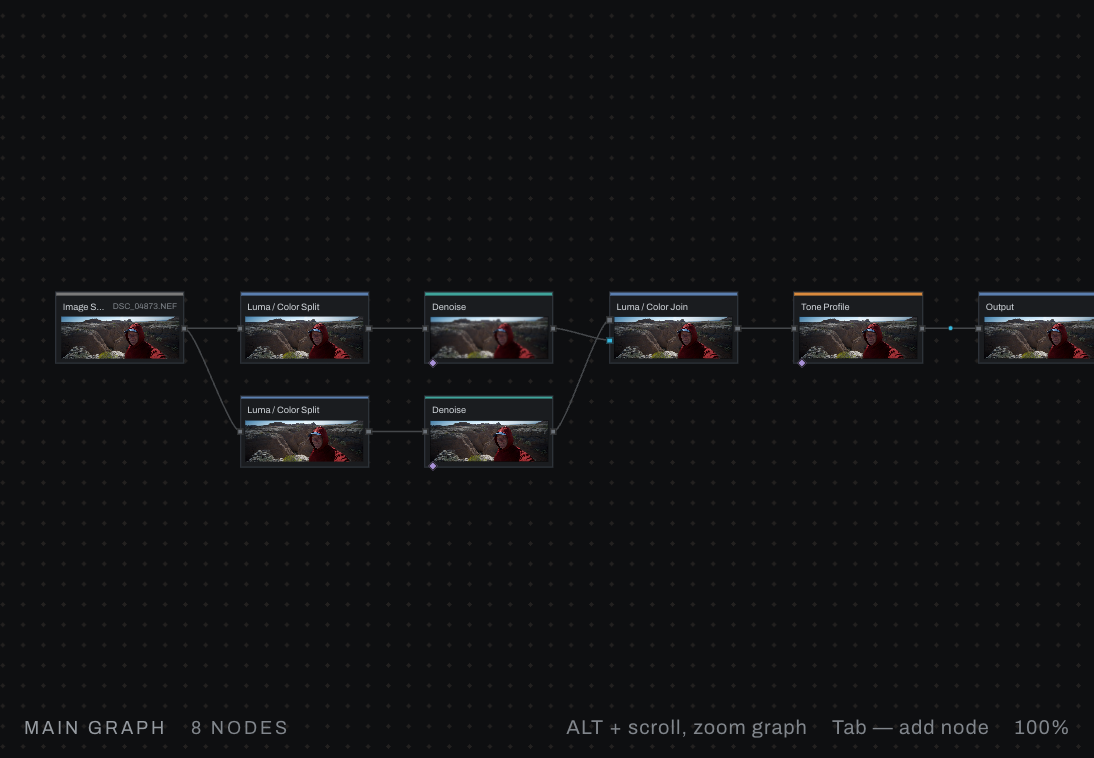
Noise reduction as a network: a light touch on luma, a heavy one on color.
Image Source > Luma / Color Split (luma)  > Denoise (15) > Luma / Color Join.brightness
Image Source > Luma / Color Split (color) > Denoise (70) > Luma / Color Join.color
Luma / Color Join > Tone Profile > Output
Color noise is blobby and forgivable, so it can be smoothed hard; luminance noise sits beside the detail and cannot. This is the Noise Reduction section, built by hand, and open to anything else between the split and the join.
Grade one family of color
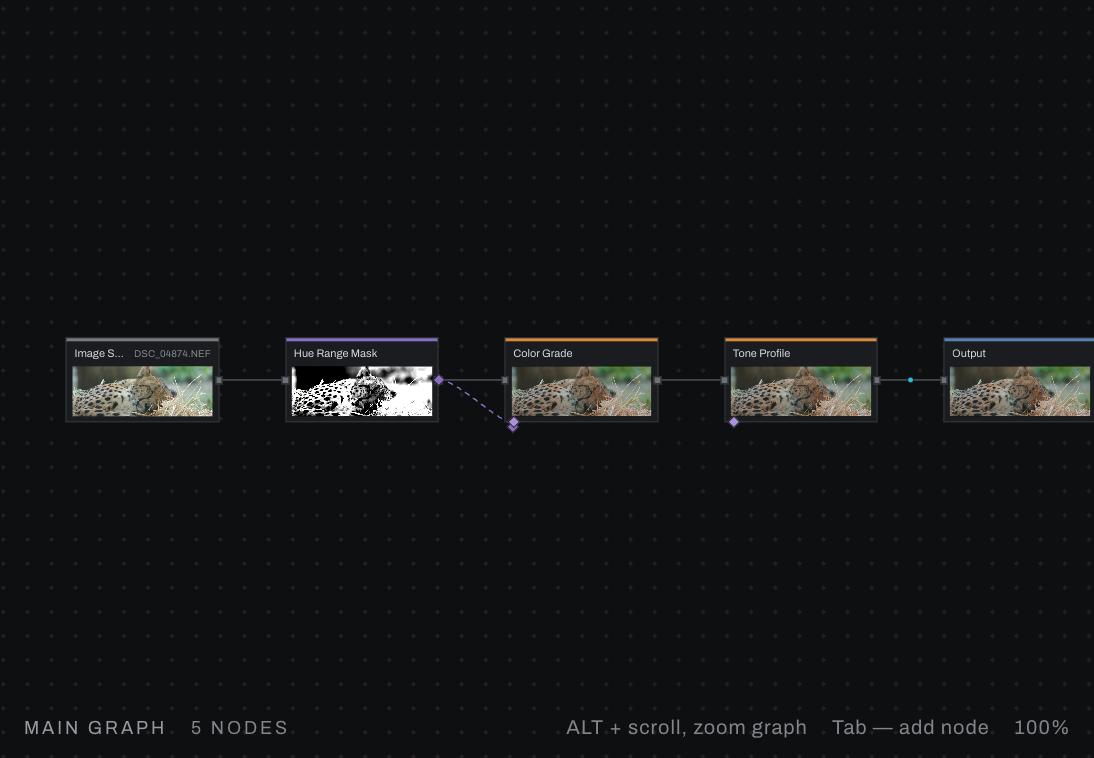
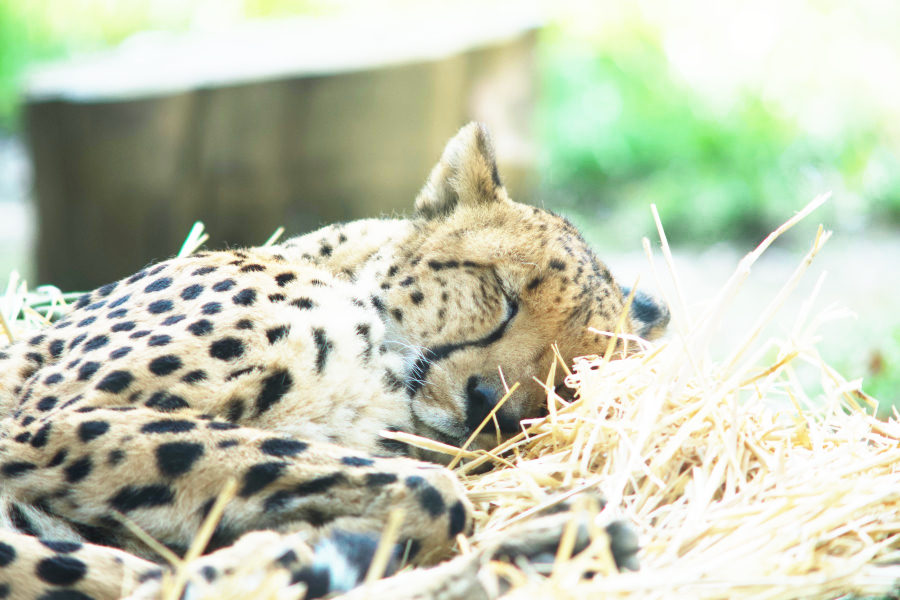
A Hue Range Mask on the blues drives a Color Grade: sky and water shift and deepen, nothing else moves.
Image Source > Hue Range Mask (centre 210, range 70, falloff 30) > Color Grade.mask
Image Source > Color Grade (hue shift -18, saturation 30, exposure -0.3) > Tone Profile > Output
This is a Color Set, which Adjustments builds for you as a pair; wired by hand you can put anything behind the mask, or feed the same mask to several nodes.
A filmic rendering that stays in gamut
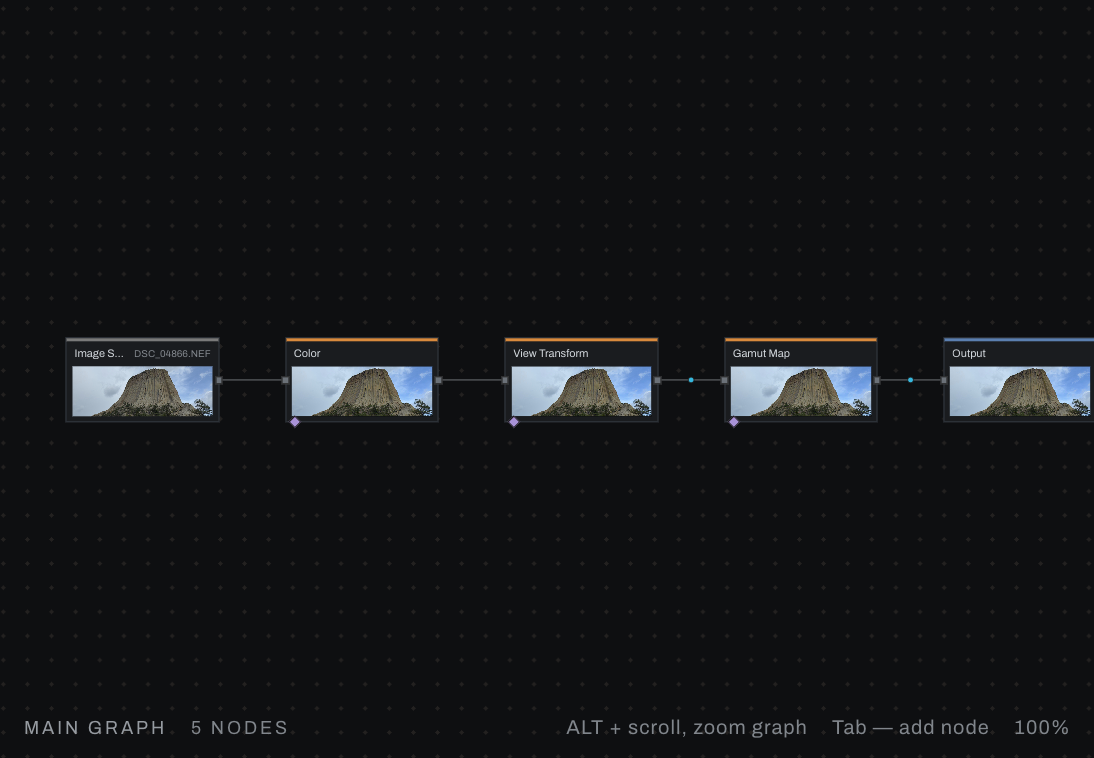
View Transform in place of the Tone Profile, then a Gamut Map.
Image Source > Color (saturation 45, vibrance 30) > View Transform (AgX, exposure 0.4) > Gamut Map > Output
The View Transform is the scene-to-display rendering, so the Tone Profile is left out rather than doubled. Strong saturation before a filmic curve pushes colors past the display; the Gamut Map eases them back with their hue held, which is what the viewport's gamut warning offers to insert for you.
Building your own
- Start from the photograph's chain and branch: drag from any output to a second node, then bring the branches back together with Merge, Blend Mode or Conditional.
- Keep linear work (Exposure, Color, Relight) before the Tone Profile and Curves after it.
- A field can feed any number of mask ports; make it once.
- Save a working branch as a group and publish the two or three controls that matter.