Many photographs into one
Merge brackets to HDR, average a sequence into a long exposure, remove what moved, build star trails, and stitch panoramas, from a handful of frames to thousands.
 HEELER
HEELER / PHOTO EDITING FOR YOUR DESKTOP
Heeler brings familiar adjustments and a full node graph together, so you can shape the light, depth, and color in every frame. Built for photographers on macOS, Windows, and Linux.
Free and open source. No account, no purchase. Your photographs and edits stay on your machine.
Fetching your pictures
FreeEvery feature, no account or cloud
Open sourceUnder the Mozilla Public License
Edit locallyYour photos stay on your machine
TWO WAYS INTO THE SAME EDIT
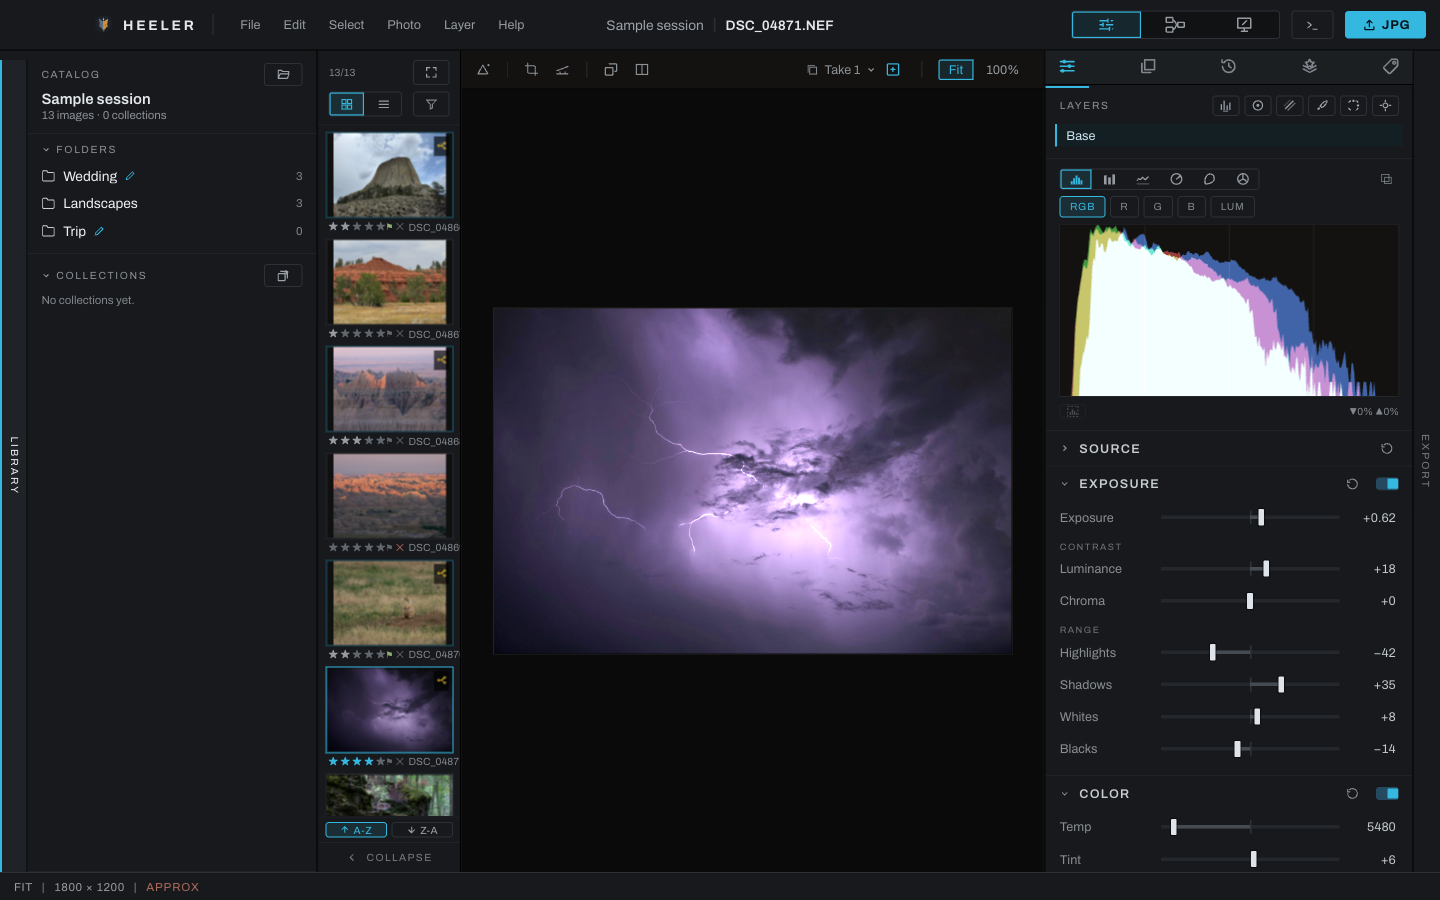
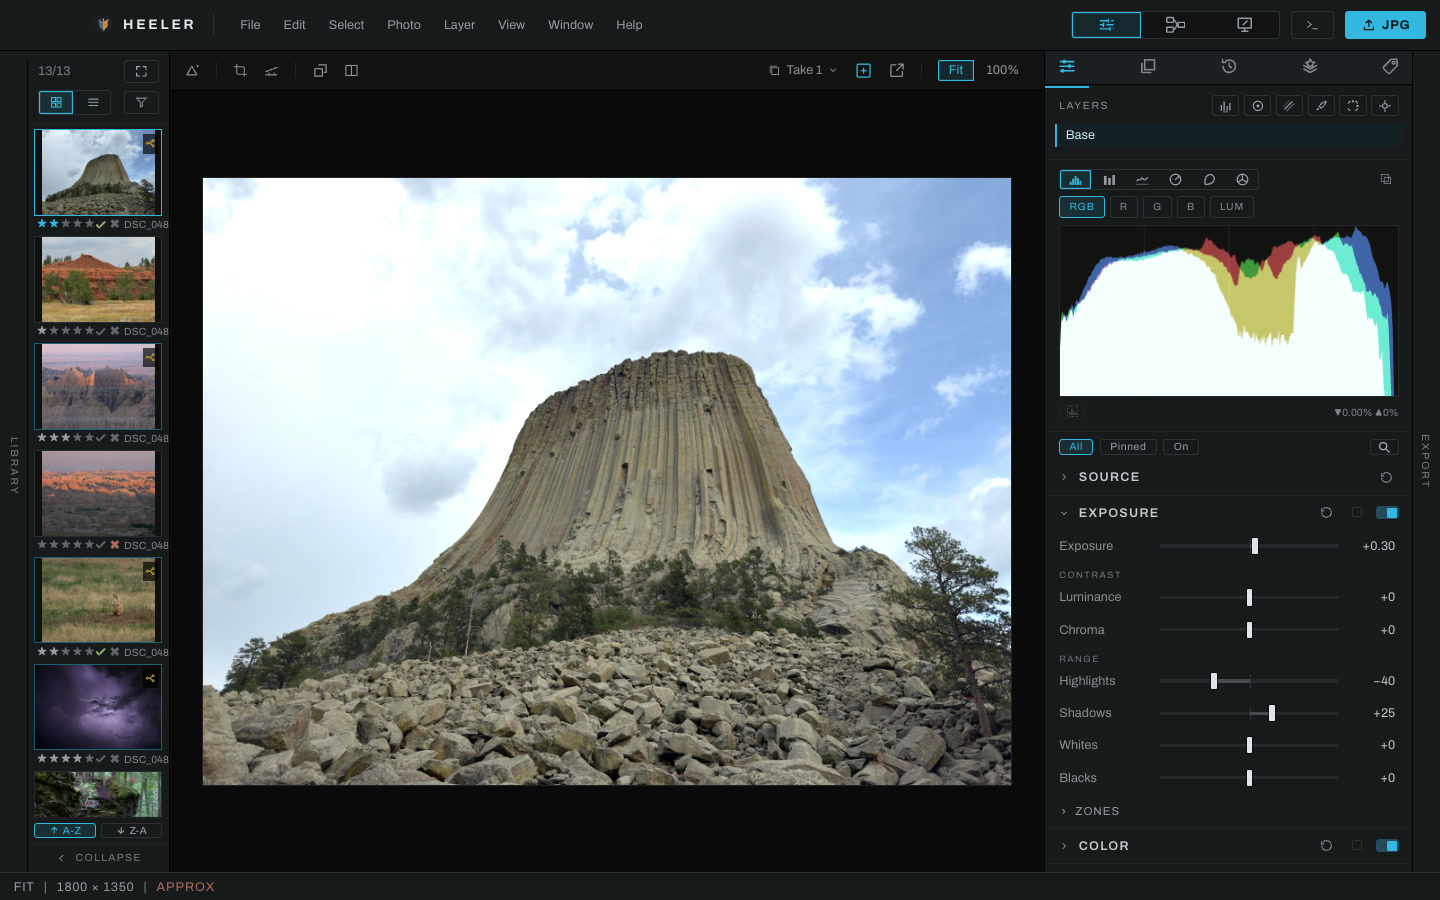
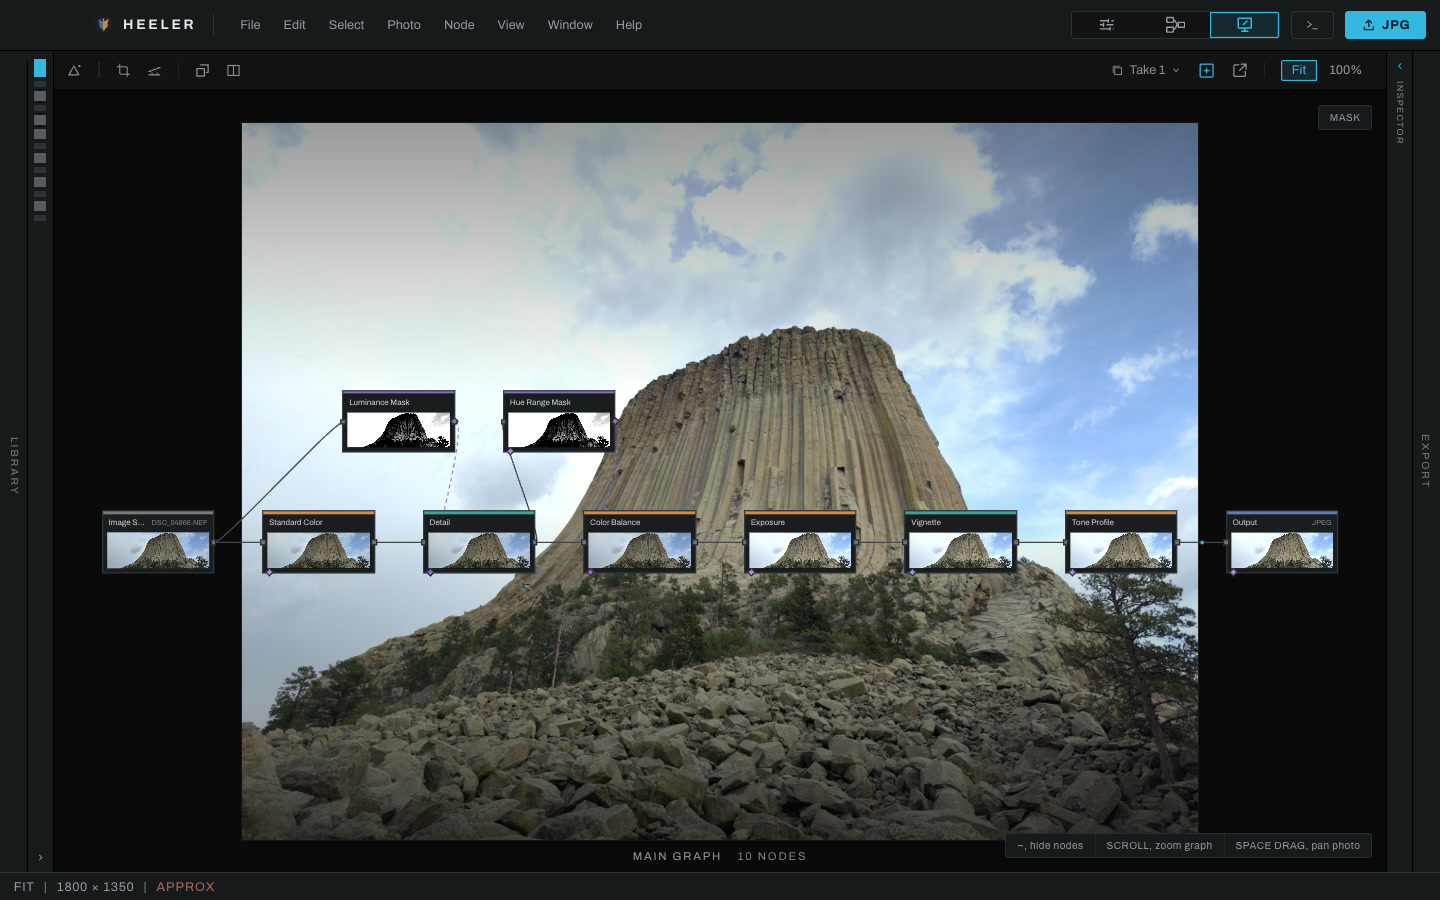
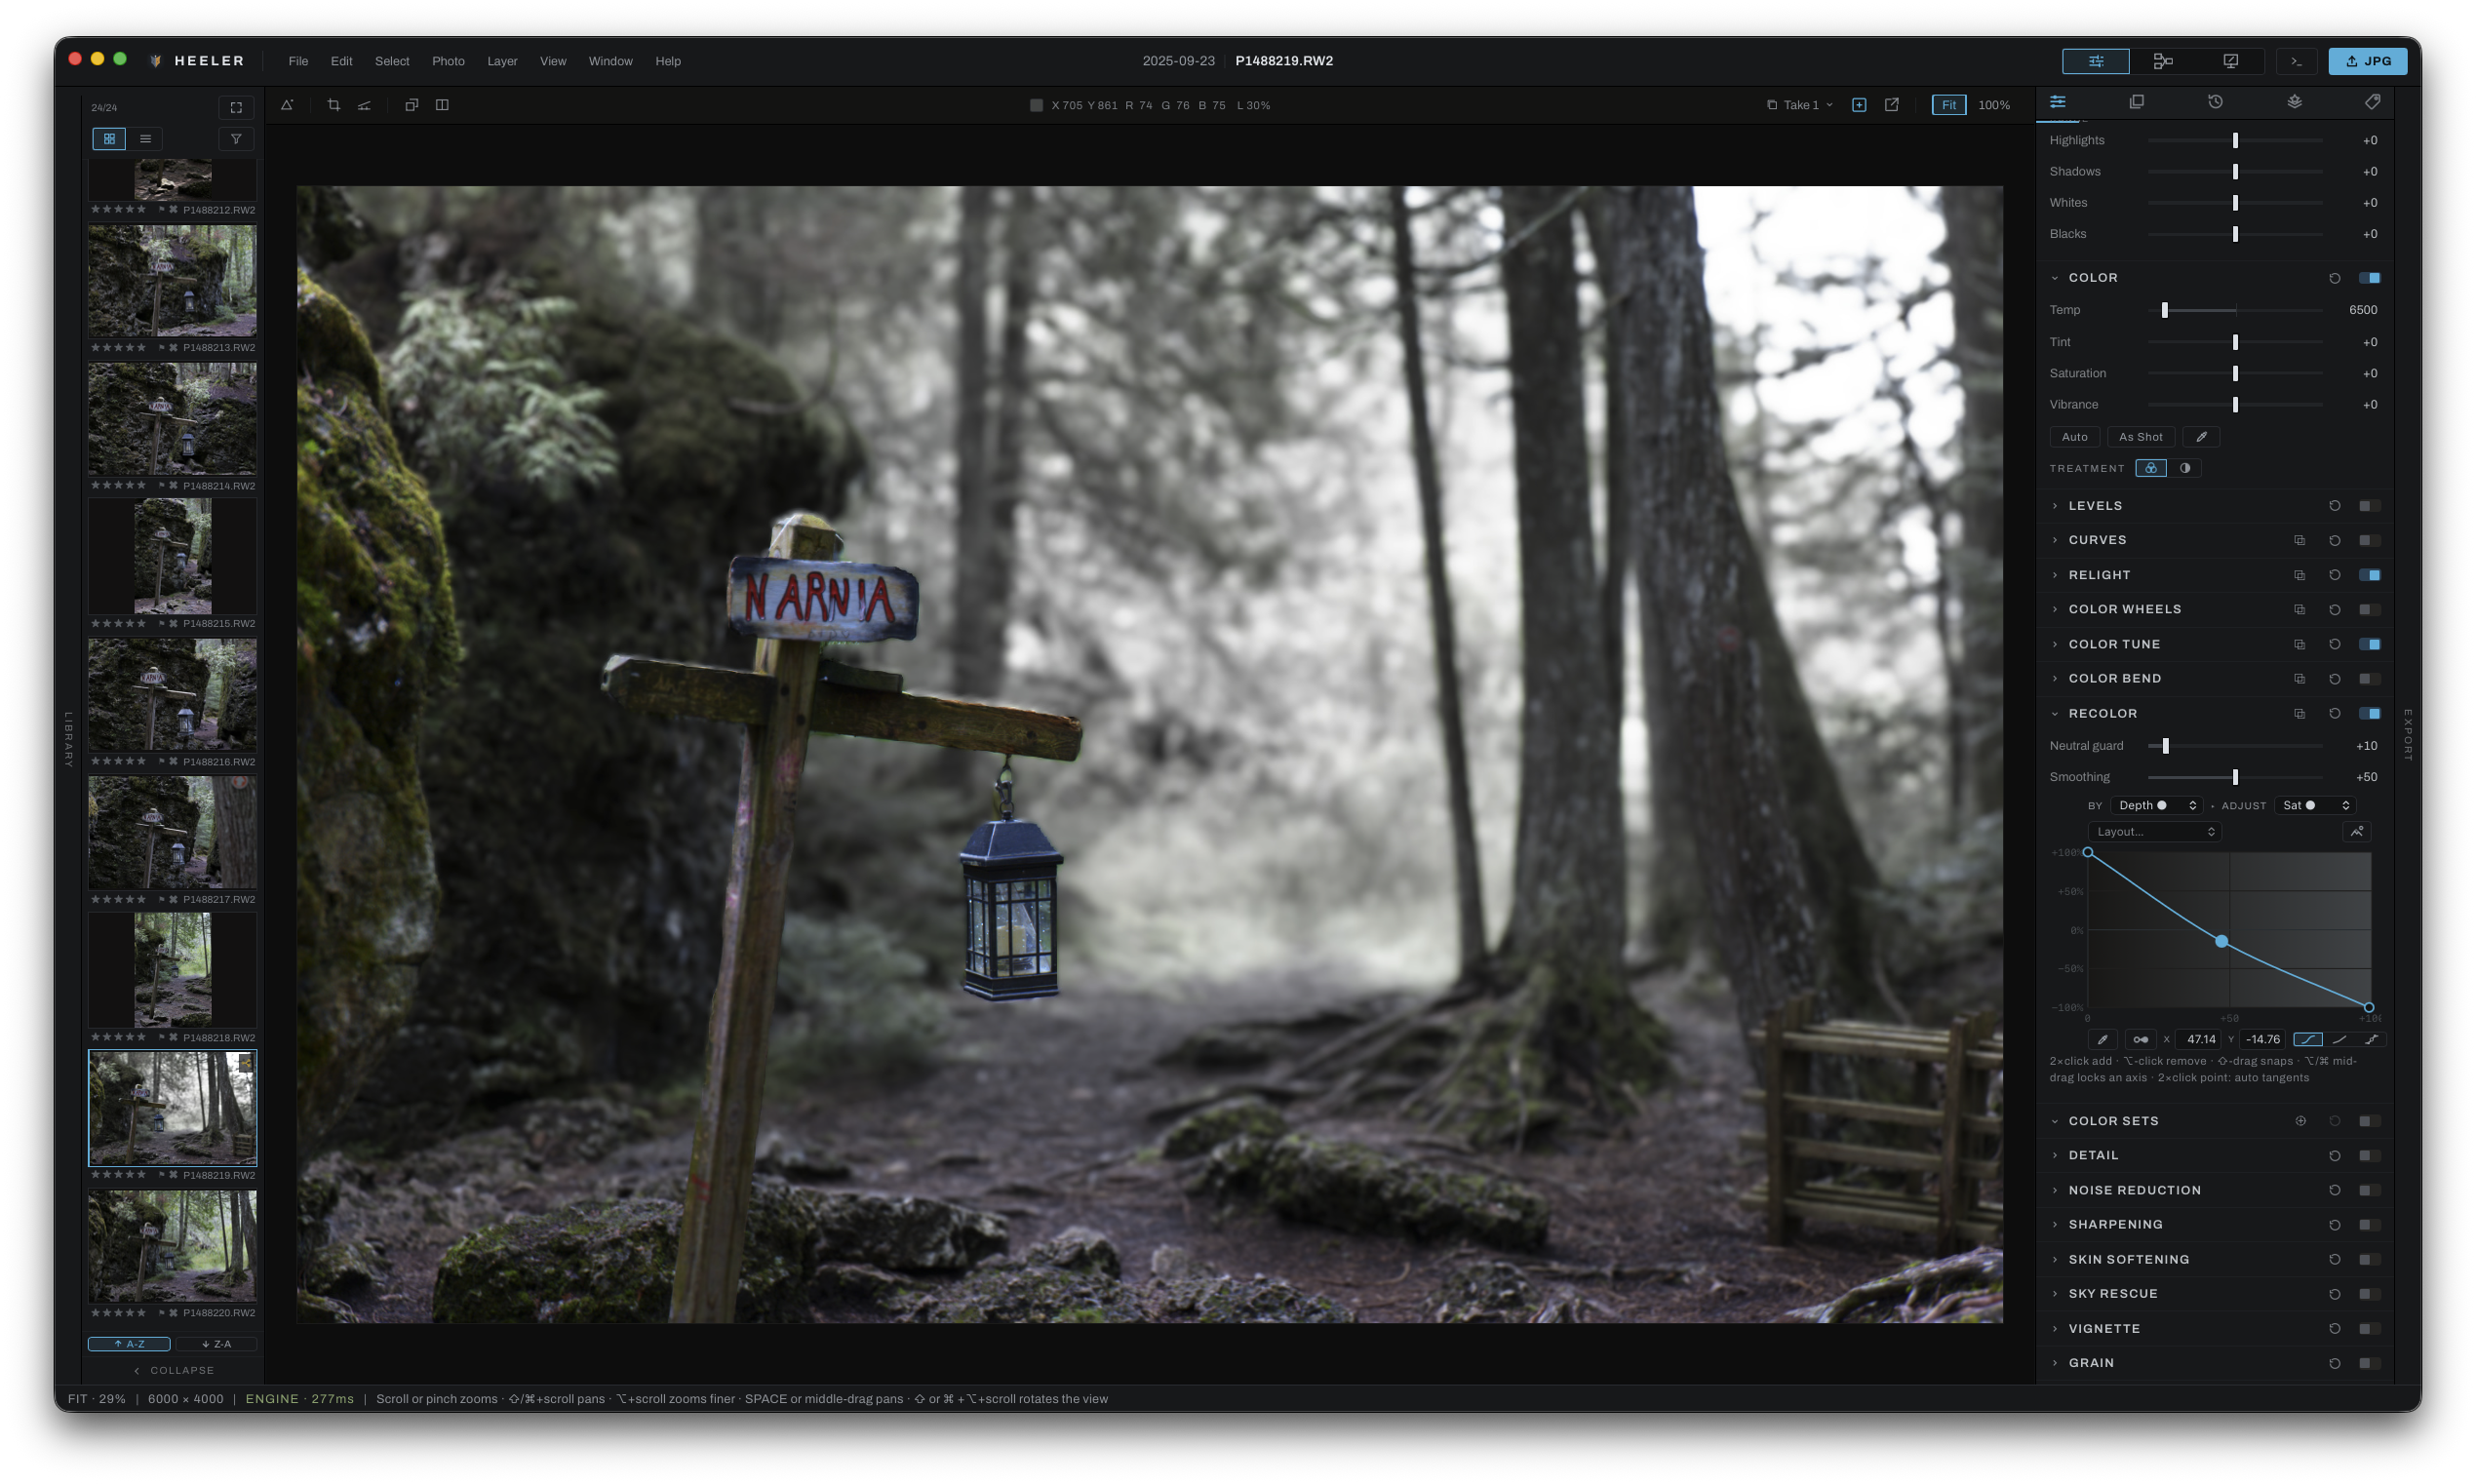
Develop is the linear workflow: sliders, top to bottom, the way you expect. Underneath, every section you touch is a node. The Canvas shows the graph under the hood, drawn over the photograph, and lets you build on it.
NOT ANOTHER COPY OF THE EDITOR YOU KNOW
Every edit in Heeler is a node, from the RAW decode to the export. Open the graph at any time to see exactly what runs, in what order, and rewire it: add a node anywhere, route a mask into any adjustment, blend in a second photograph, or save a piece of the graph as a recipe you reuse.
Recipes like Sharpening and Skin Softening are not sealed effects. They are groups of ordinary nodes you can open and change.
Explore the graph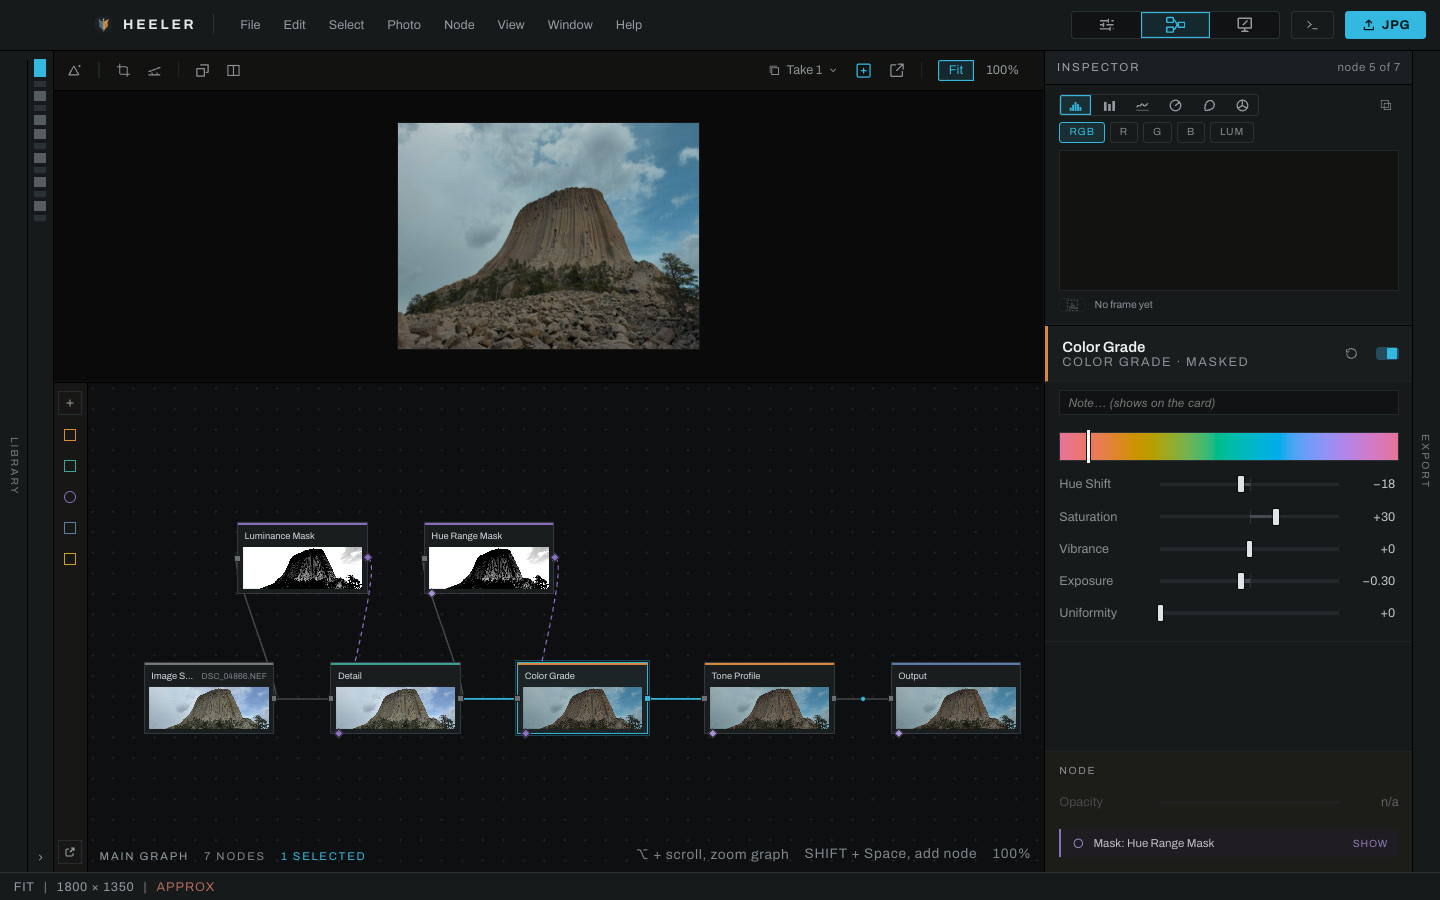
DEPTH-AWARE EDITING
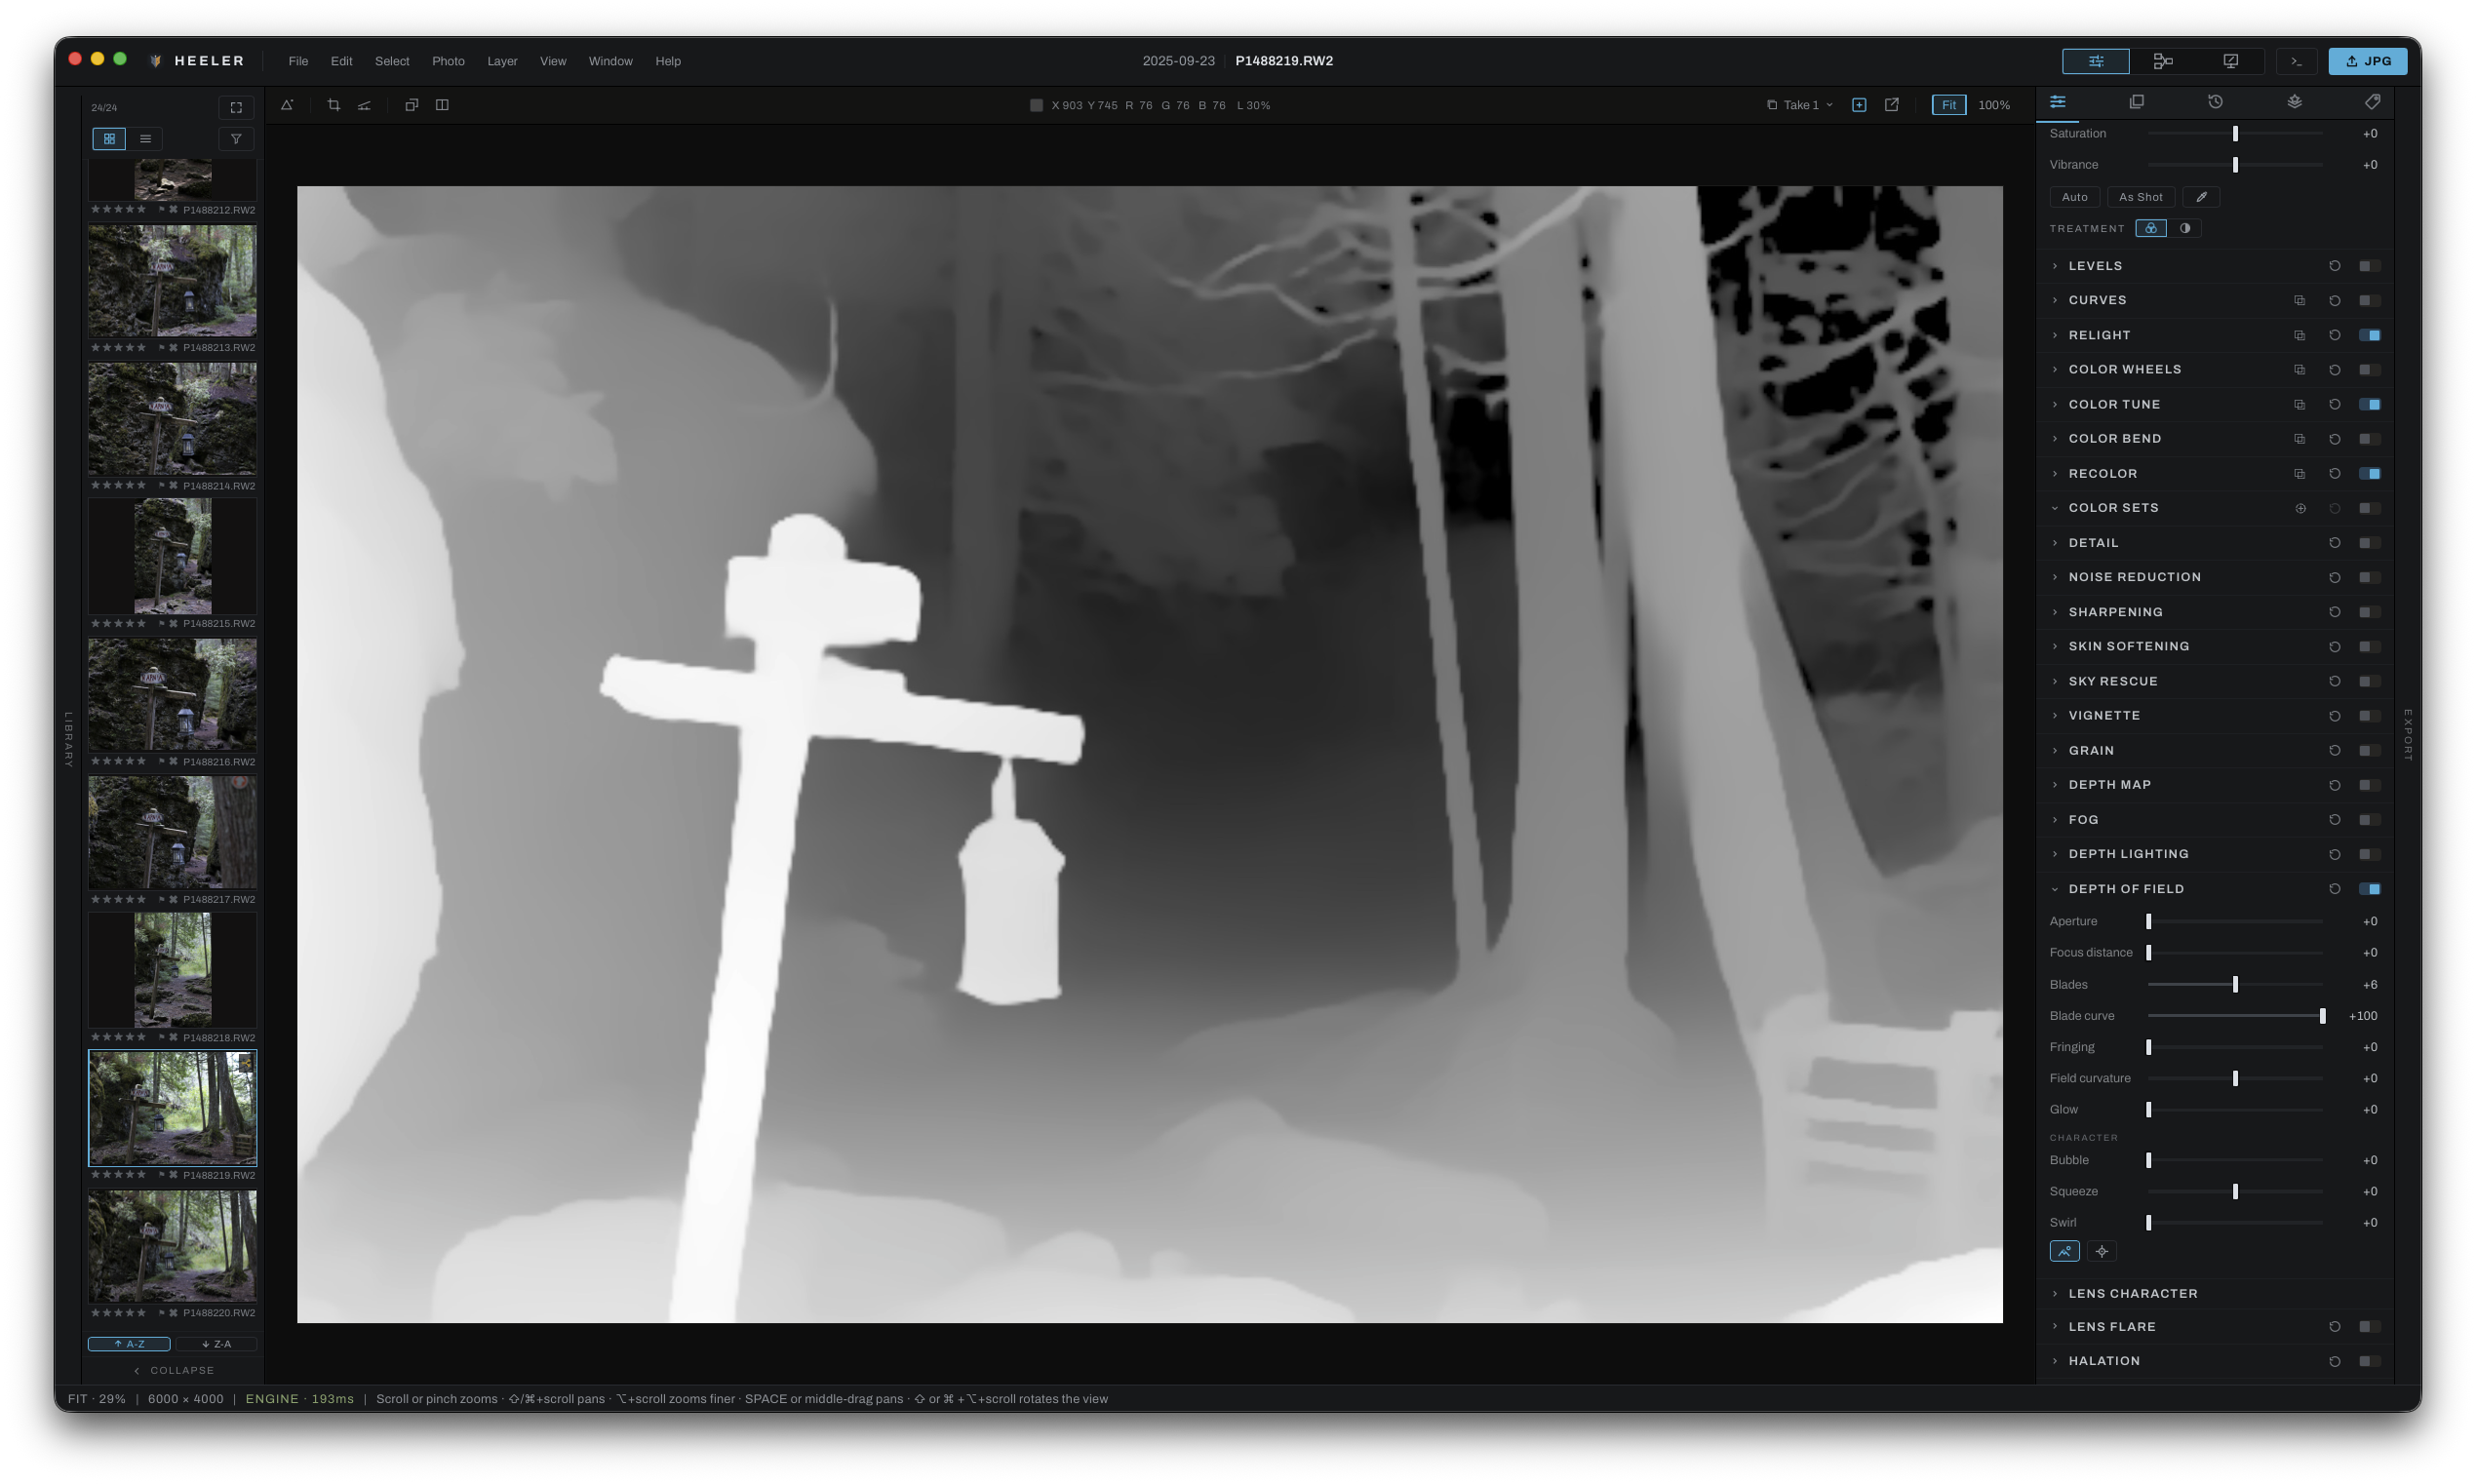
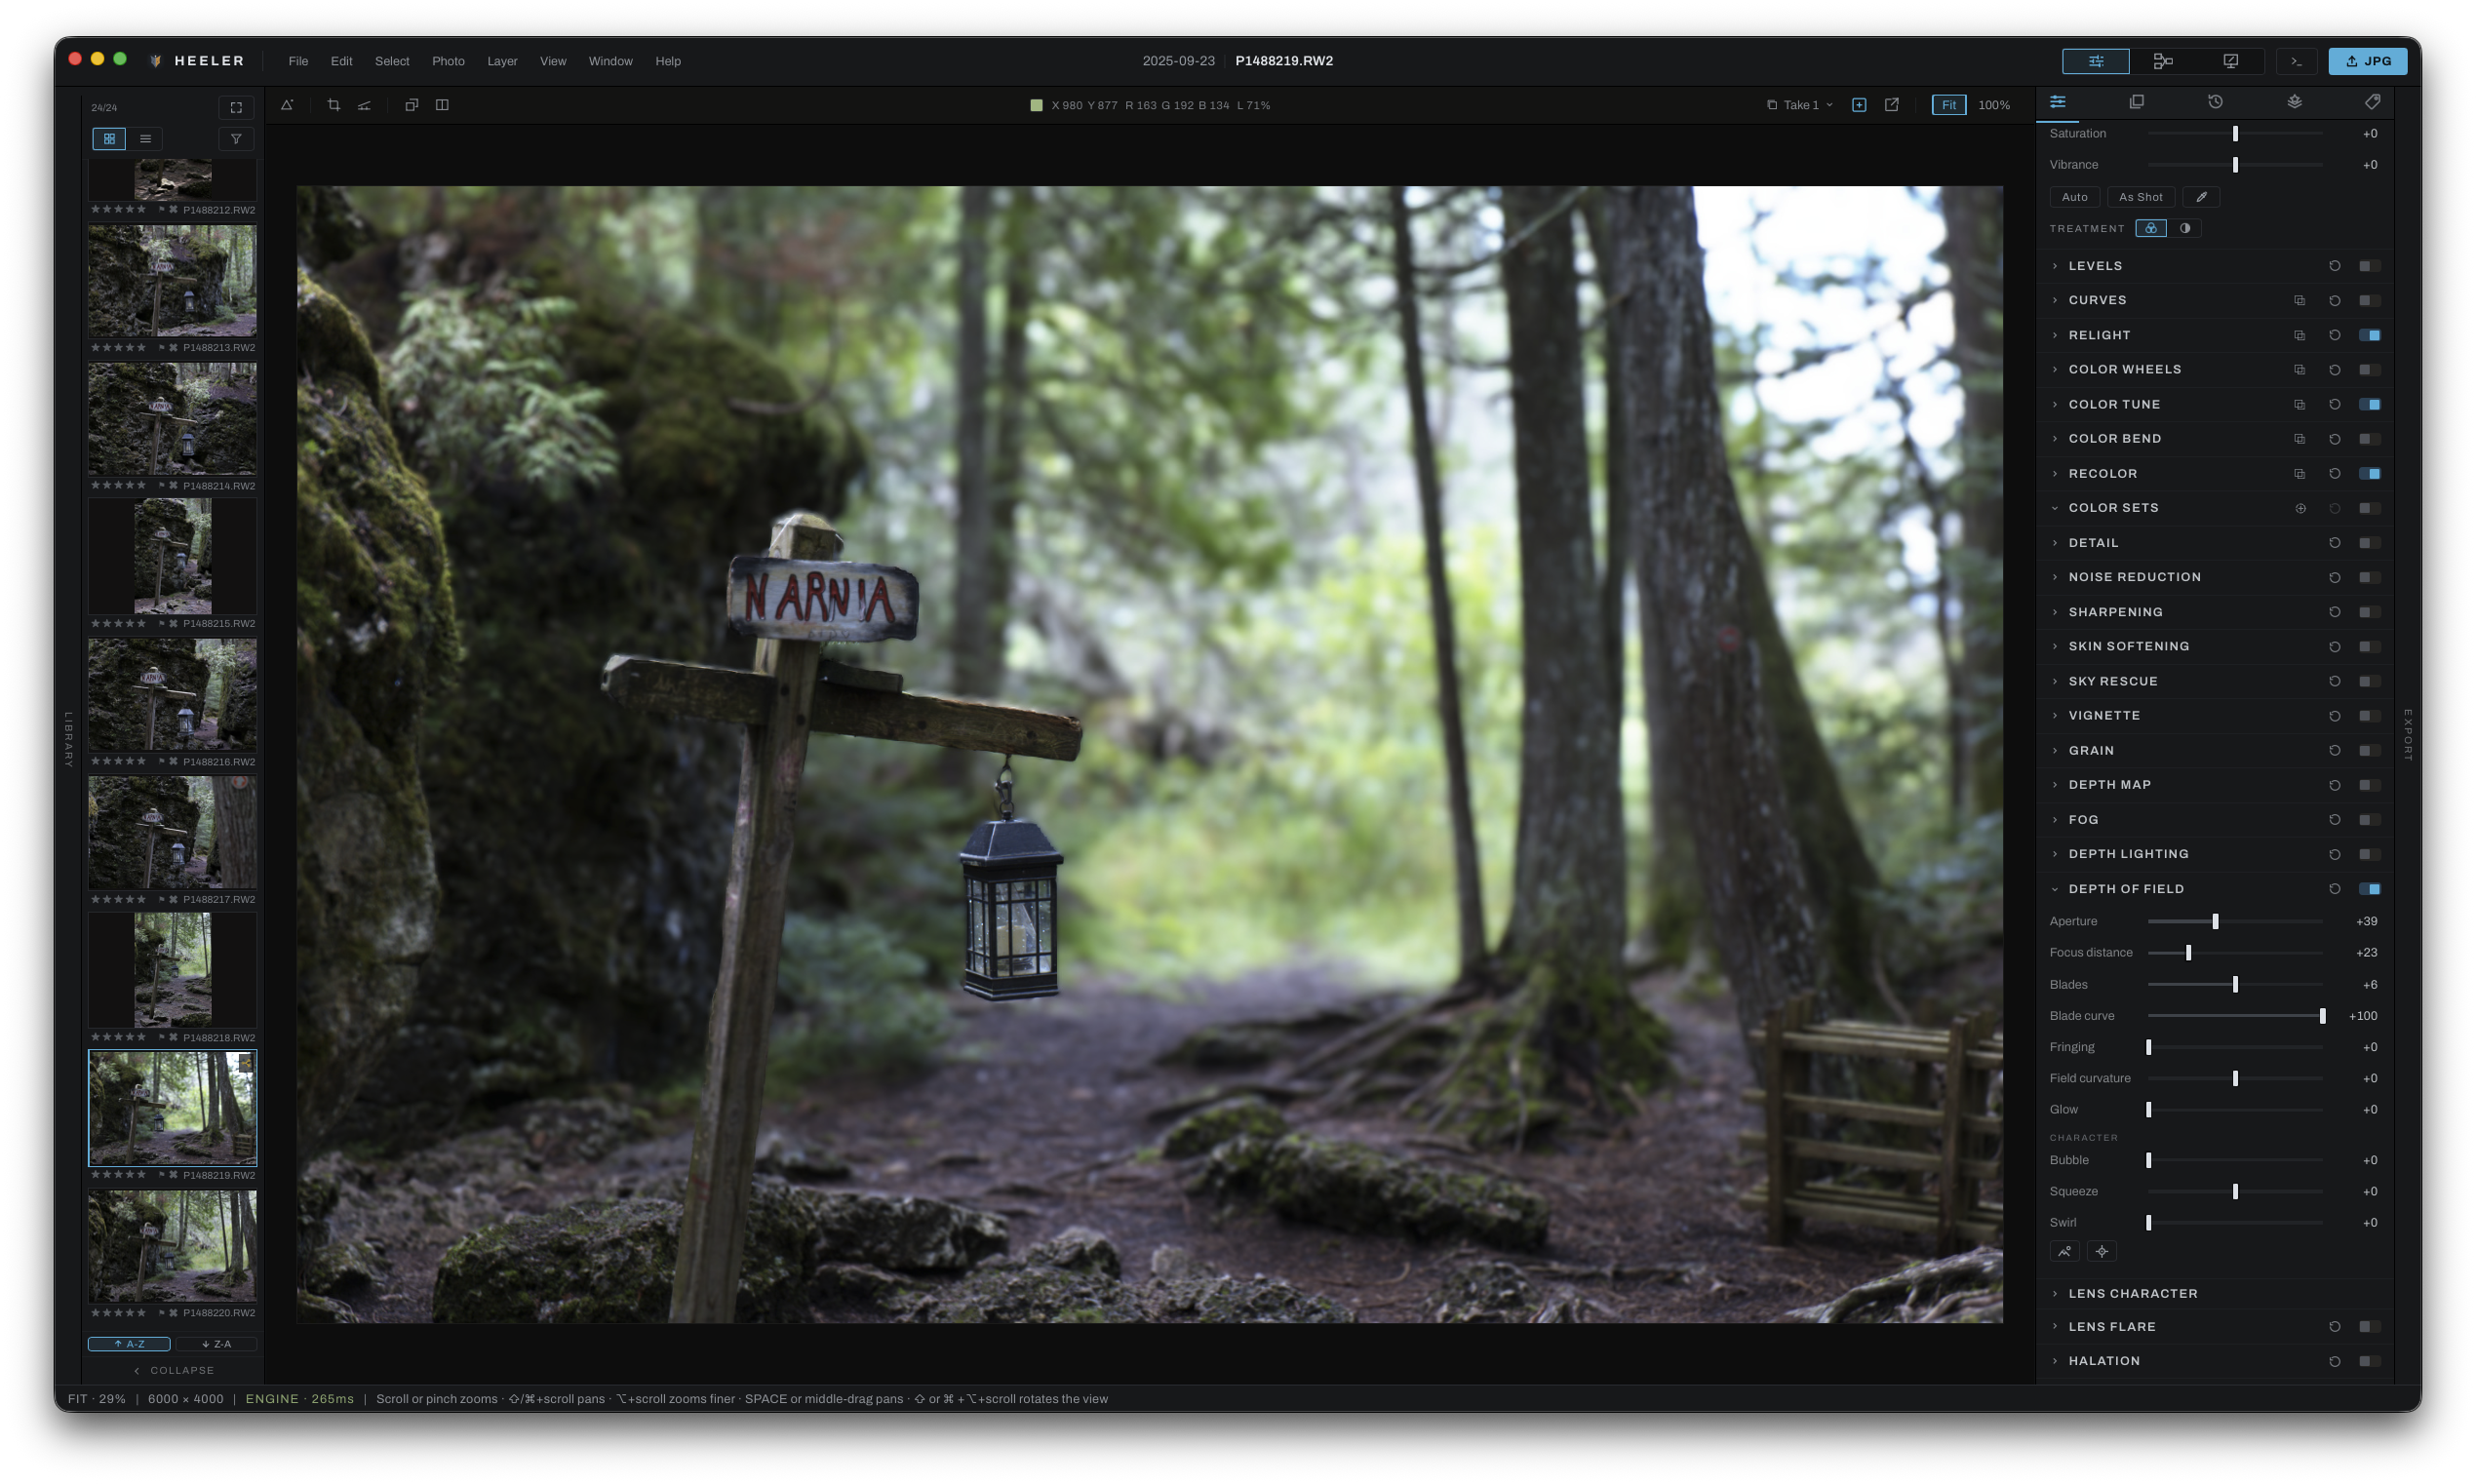
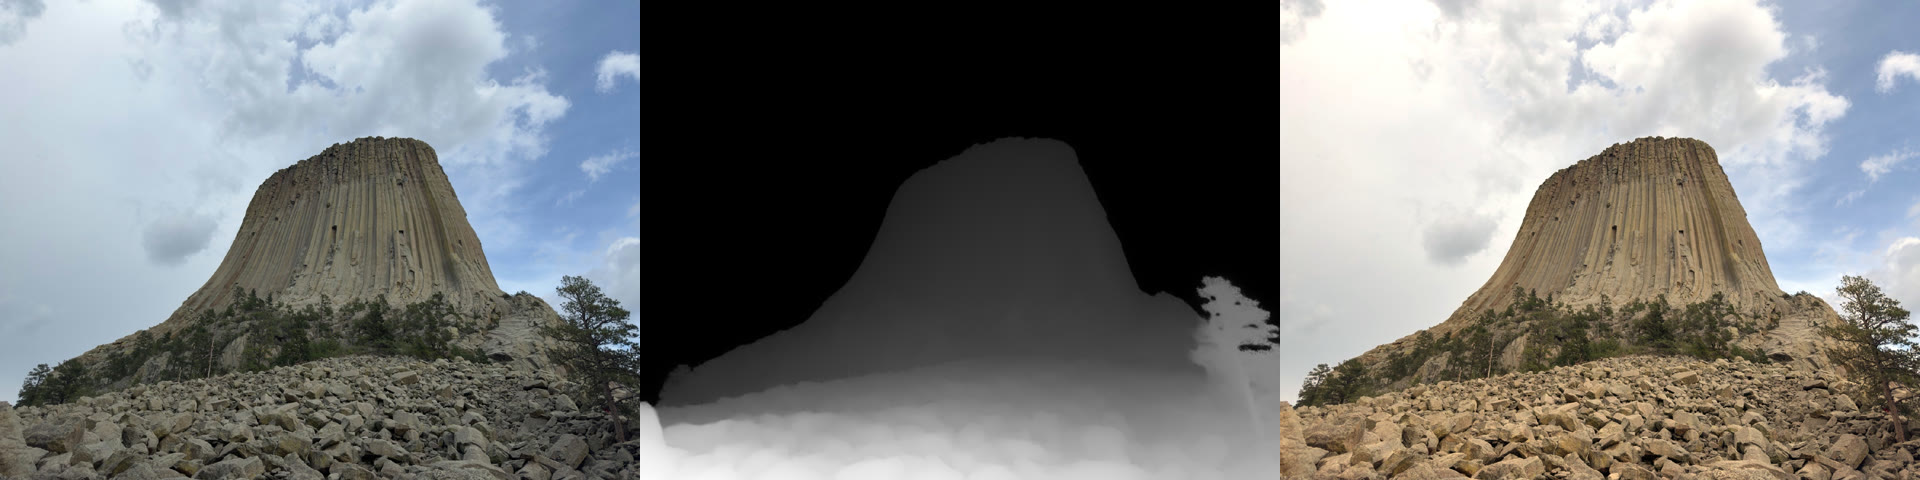
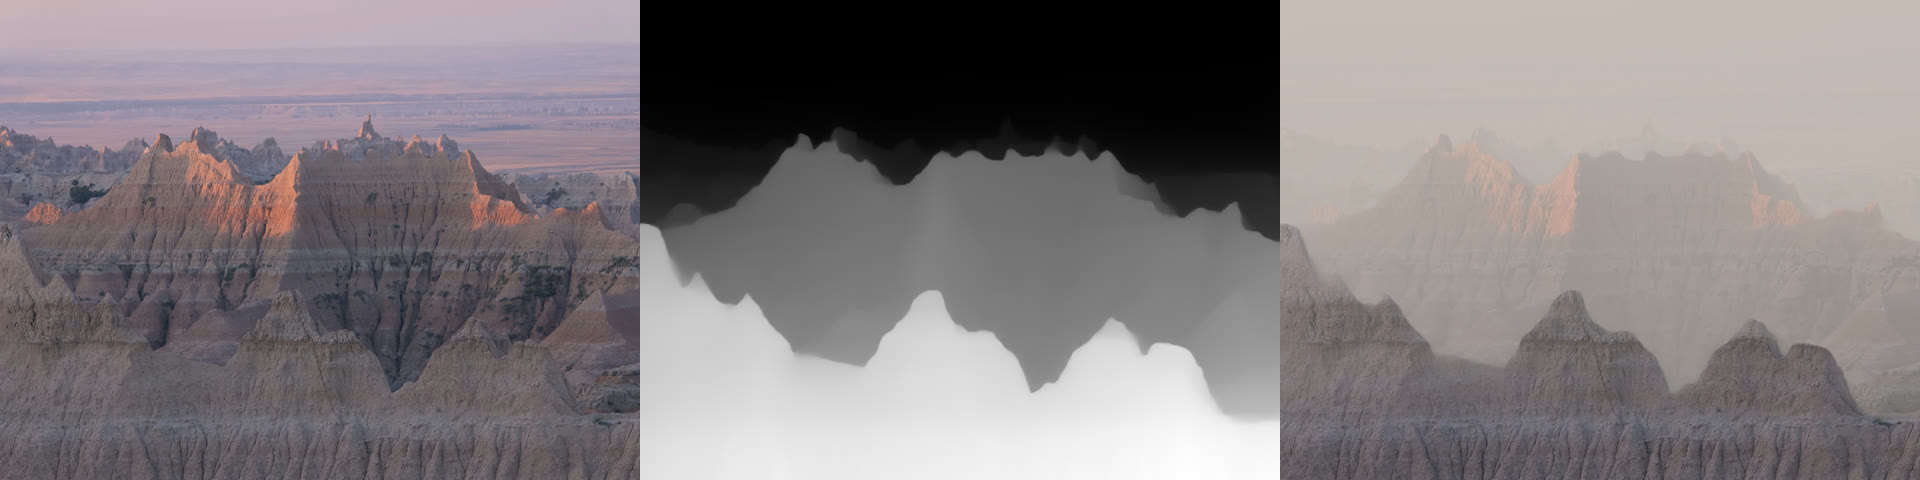
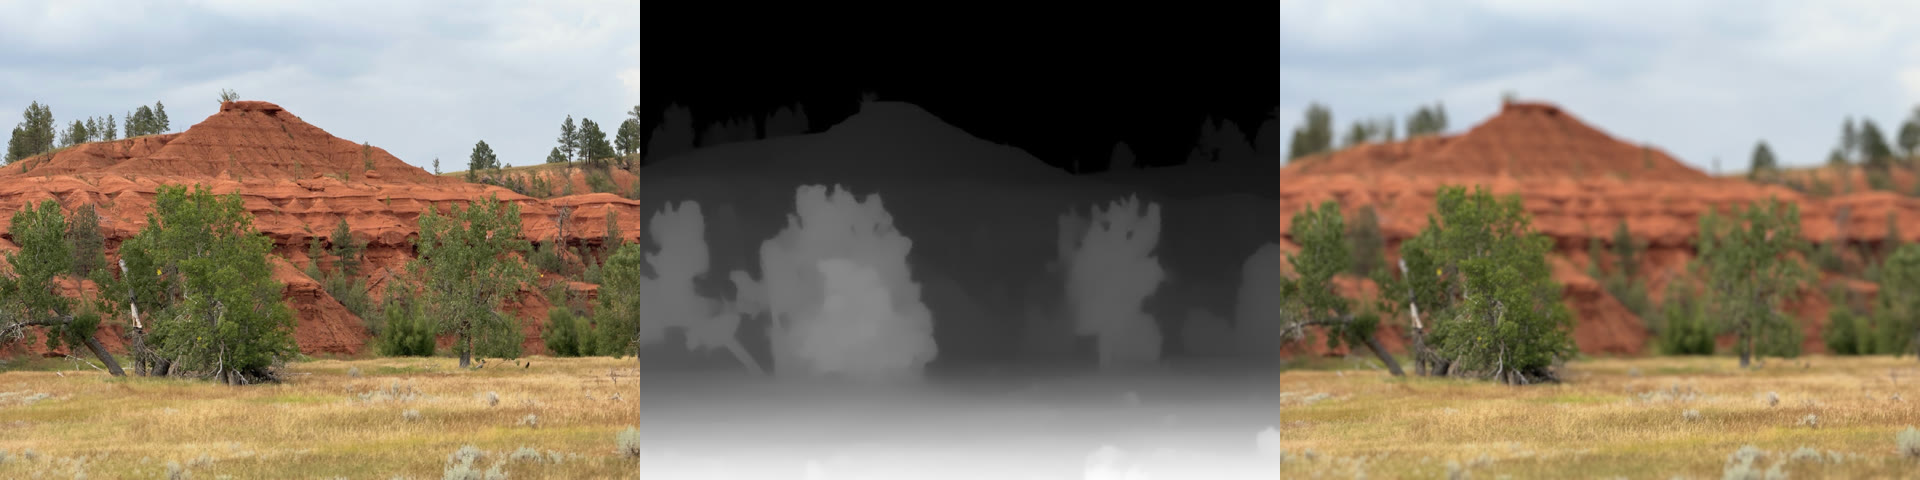
Heeler estimates a depth map for any photograph, with a model that runs on your own computer. Depth Lighting relights the scene with lights you place on it, Fog thickens into the distance, Depth of Field blurs by distance, and any adjustment layer can be limited by depth. Rendering from a 3D package? A Z or mist pass in an OpenEXR becomes the depth map, exact to the pixel.
See how each scene is set up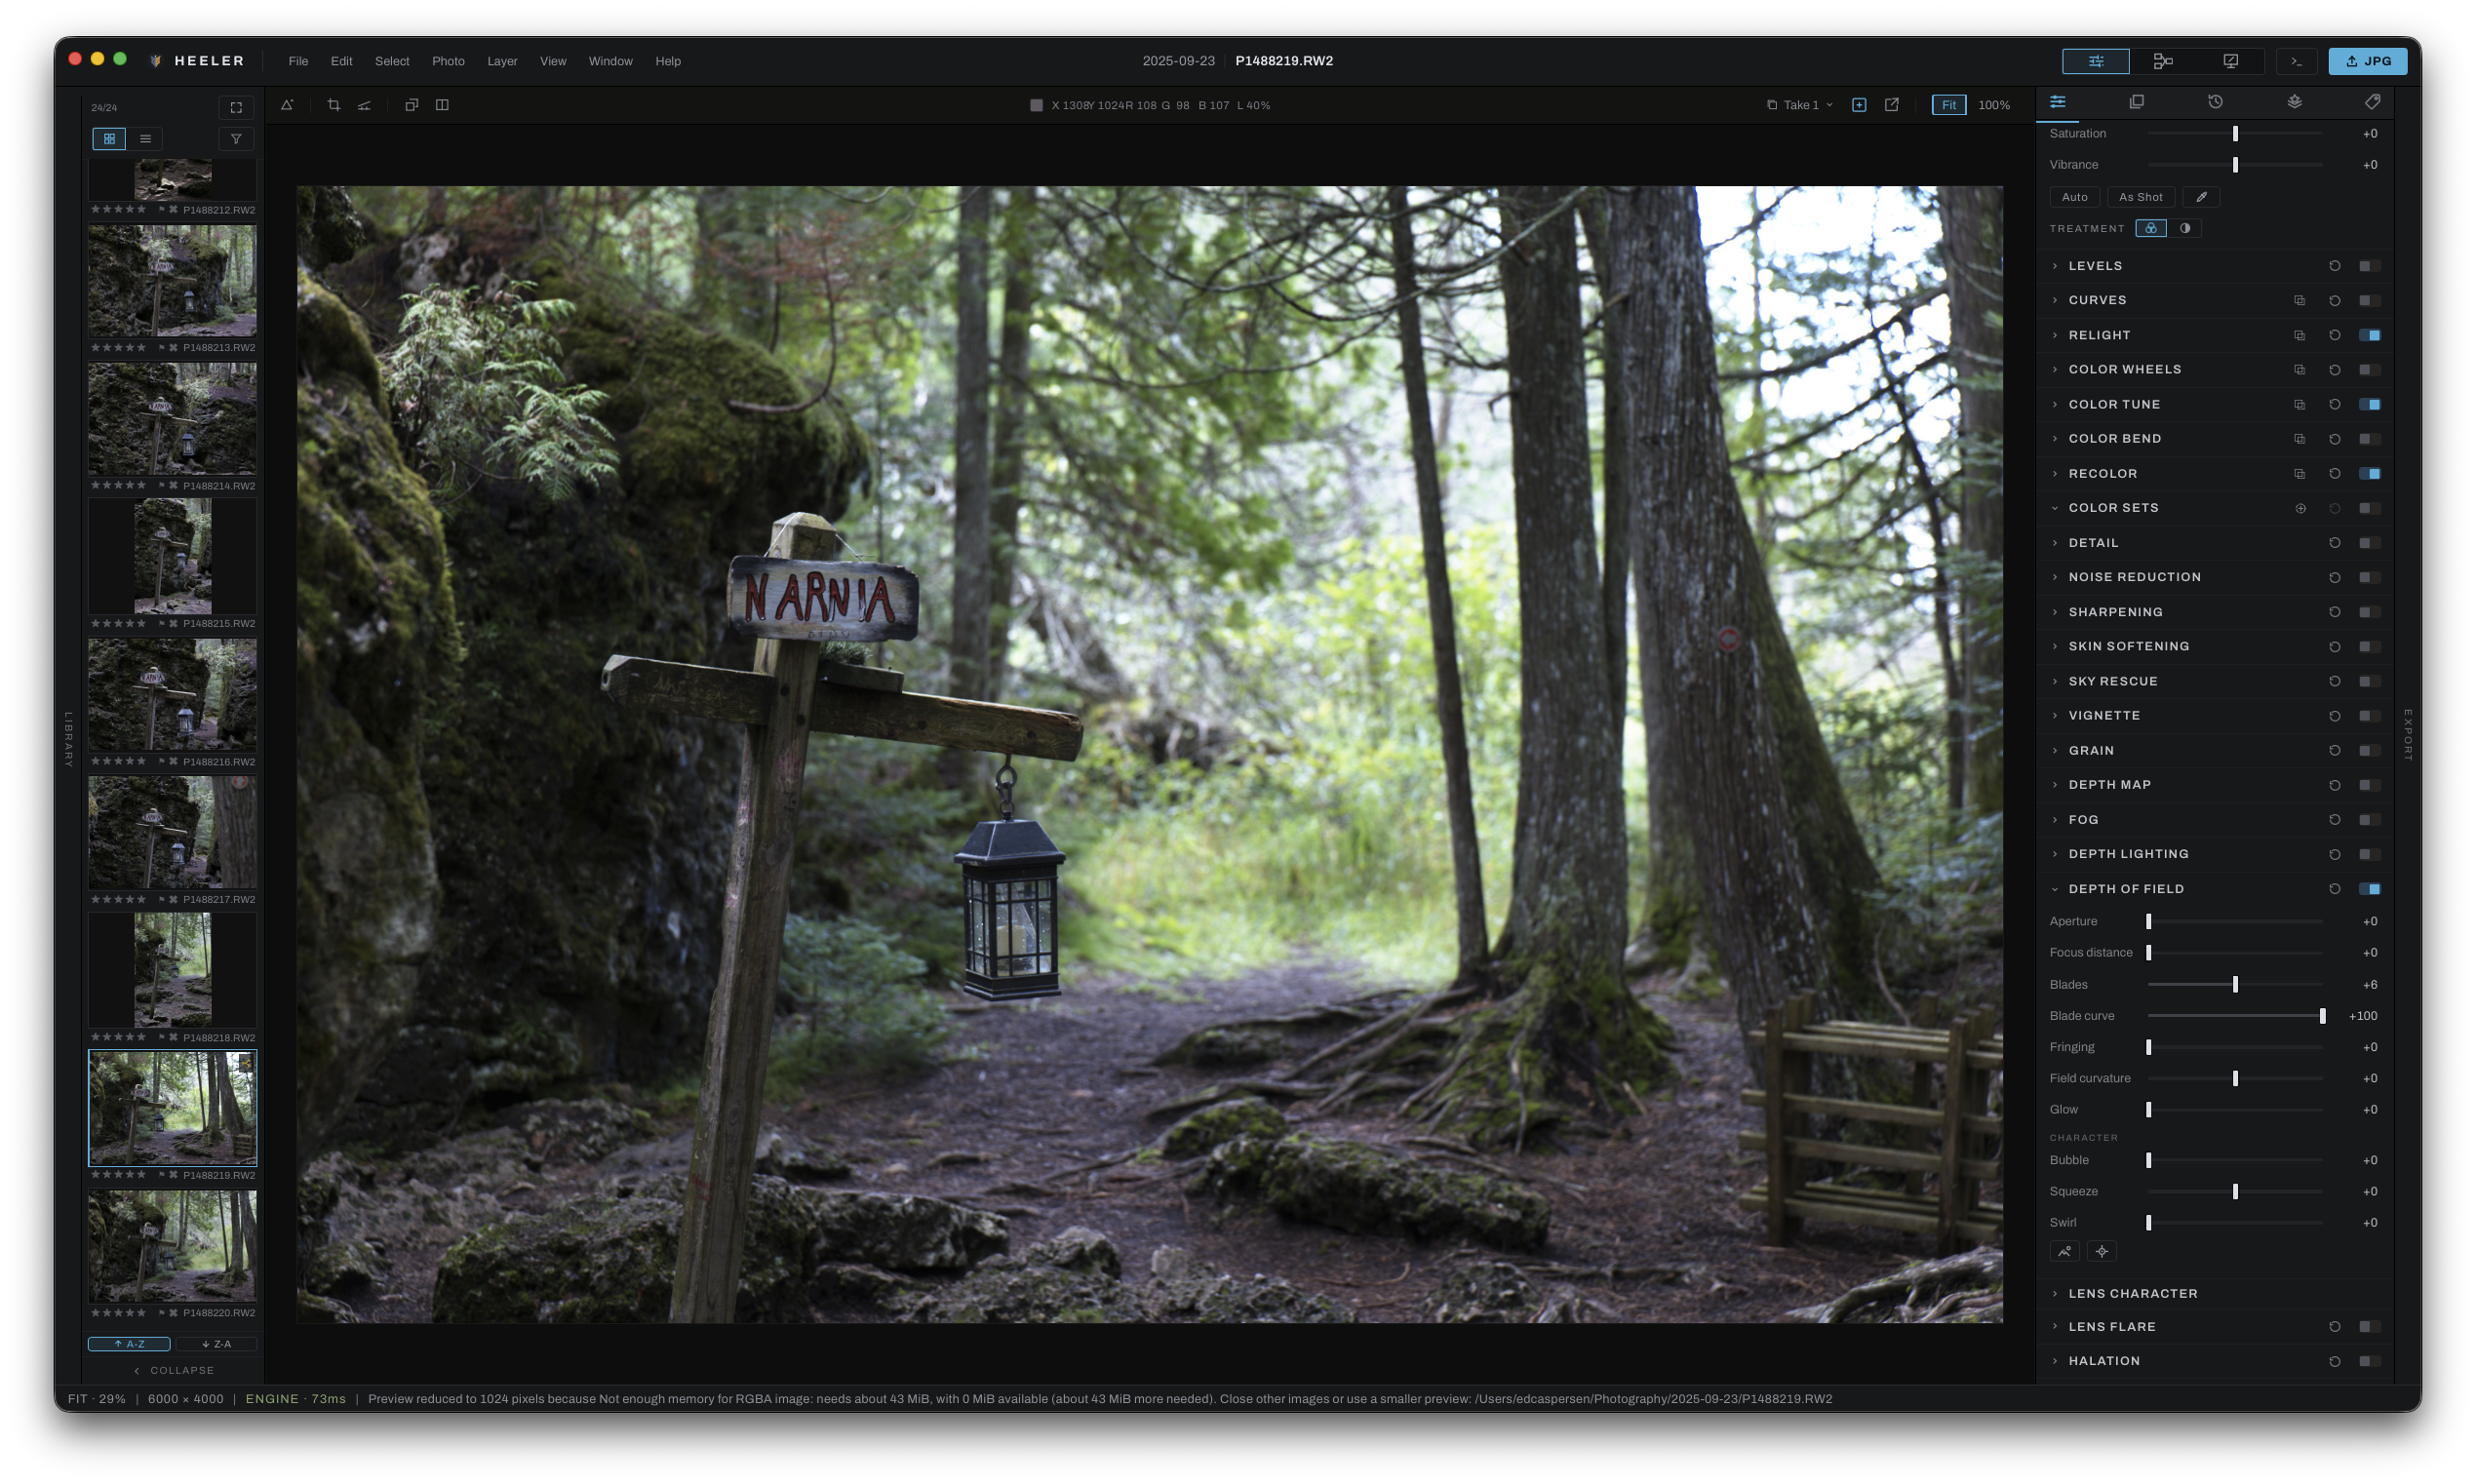
BLACK AND WHITE
The black and white treatment works the way a darkroom does: a film stock's curve, a Wratten filter in front of it, a second filter for the far end of the depth map, and true infrared stocks, where foliage glows and skies go dark. The Zone System is built in: place a shadow on Zone III, then develop for the highlights.
Explore black and white
COLOR
Recolor routes one color component into another with curves, including a curve that reads the depth map. Relight reshapes the light across the tonal range with an edge-aware curve. Color Sets pick a range of color off the photograph and grade it on its own, and Color Checker calibrates the camera from a photographed chart.
Explore Recolor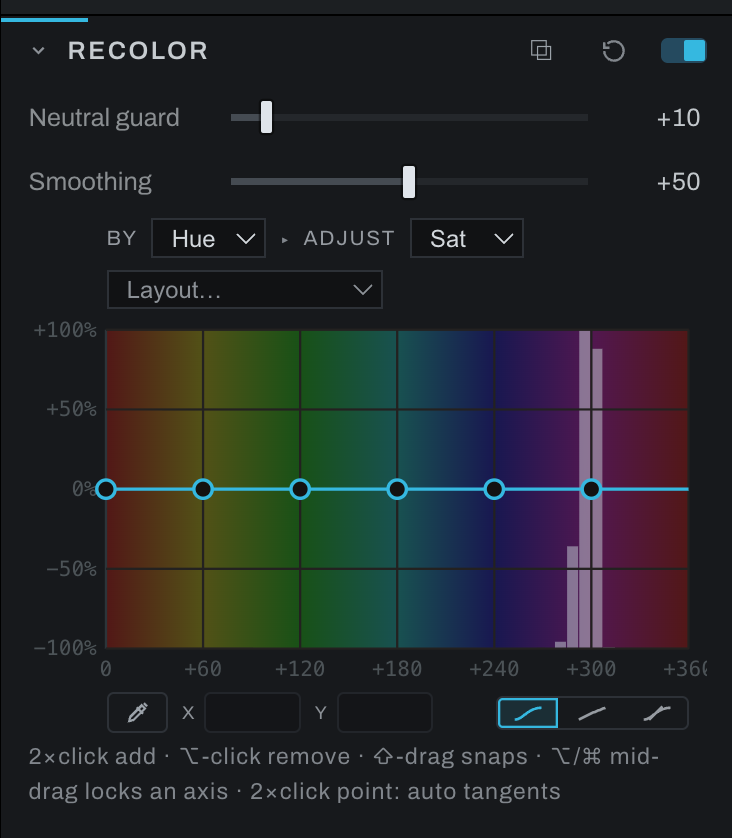
ROOM FOR THE FULL WORKFLOW
Merge brackets to HDR, average a sequence into a long exposure, remove what moved, build star trails, and stitch panoramas, from a handful of frames to thousands.
Adjustment layers in Develop and a Finish stack for retouching and compositing, with brushes, smart selections and a depth mask on any layer.
Keep versions of an edit side by side, with notes and ratings, so a new idea never has to erase the first one.
A built-in Python console and a local scripting API drive the whole app, and a headless batch mode runs scripts with no window at all.
The models behind depth, subject and sky selection and denoising run on your machine. No account, no subscription, no cloud.
RAW files from most cameras and phones, and export to JPEG, WebP, PNG, TIFF, EXR and DNG, with Bake to Image freezing any result into a new DNG.
YOUR PHOTOGRAPHS, YOUR PACE
Every feature is in every build: no time limit, watermark, resolution cap or upgrade. Heeler is open source under the Mozilla Public License, and if it earns a place in your work, you can support it on Ko-fi.